Understanding Diecast Car Painting
Painting diecast cars is a rewarding hobby that allows you to customize and restore your favorite miniature vehicles. Whether you’re a seasoned modeler or a beginner, the process involves several steps to achieve a professional-looking finish. This guide will walk you through the essential techniques, from choosing the right materials to applying the final clear coat. Understanding the basics is key to a successful project. Proper preparation, selecting the correct paints, and using the right tools are crucial for achieving a smooth, durable, and visually appealing result. This guide aims to equip you with the knowledge and skills to transform your diecast cars into stunning replicas or unique custom creations.
Materials You’ll Need
Before you begin, gather the necessary materials to ensure a smooth and efficient process. Having everything on hand will prevent interruptions and allow you to focus on the task at hand. The right materials contribute significantly to the final quality of your paint job. It’s worth investing in quality products to ensure a durable and visually appealing finish. Careful selection of paints, primers, and other materials is essential for achieving the best results. The following list will guide you through the essentials needed to successfully paint diecast cars.
Types of Paints for Diecast Cars
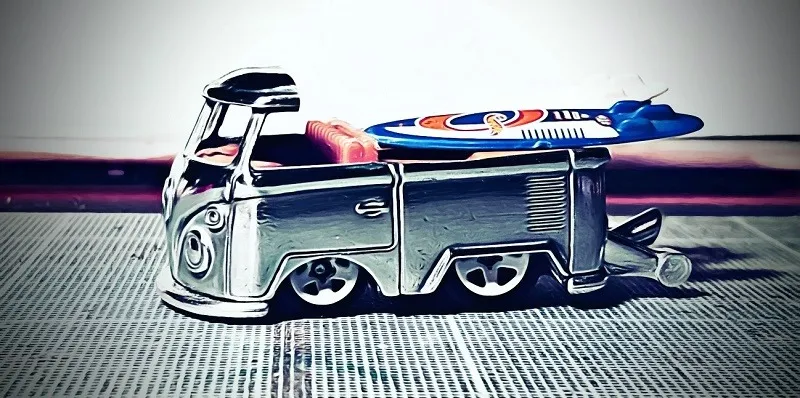
Choosing the right paint is paramount for achieving a realistic and durable finish on your diecast cars. Several types of paints are suitable for diecast models, each with its unique characteristics. Acrylic paints are popular due to their ease of use, quick drying time, and low odor. They are water-based, making cleanup simple, and are available in a wide range of colors. Enamel paints offer excellent durability and a glossy finish, but they take longer to dry and require solvent-based thinners for cleanup. Lacquer paints provide a smooth, hard finish and dry quickly, but they require careful application due to their strong solvents. When selecting paint, consider factors like durability, finish, and ease of use. Always follow the manufacturer’s instructions for application and safety precautions.
Essential Tools for Painting
Having the right tools can make a significant difference in the quality and ease of your diecast car painting project. A well-equipped workspace enhances precision and efficiency, leading to better results. Invest in quality tools to ensure durability and longevity. Essential tools include an airbrush or spray cans, a well-ventilated spray booth, paintbrushes for detail work, masking tape, and various grades of sandpaper. An airbrush is recommended for achieving a smooth, even coat, while spray cans offer convenience for beginners. Sandpaper is crucial for surface preparation and smoothing imperfections. Make sure you have everything you need, organized, and ready before you begin to paint your diecast cars.
Preparing Your Diecast Car
Proper preparation is the foundation of a high-quality paint job. It ensures that the paint adheres correctly to the surface and that the final result is smooth and professional-looking. Thorough preparation involves disassembling the car, cleaning the components, and priming the surface. This step is crucial for removing imperfections and creating a surface that the paint can properly bond with. Rushing this step can lead to peeling paint, uneven finishes, and an overall subpar result. Take your time and be meticulous in this process to ensure a flawless final product, and avoid any paint bubbling during the application steps.
Disassembly Process
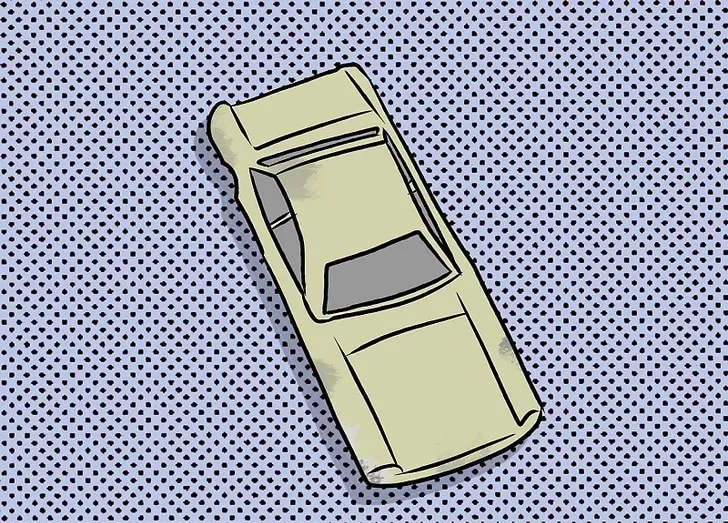
Disassembling your diecast car is the first step in preparing it for painting. This involves carefully removing all the components that will not be painted. The process usually involves removing the wheels, windows, interior, and any other detachable parts. Use appropriate tools, such as small screwdrivers and tweezers, to avoid damaging the car. Keep track of all the screws and parts, and consider taking photos during disassembly to help with reassembly. Once disassembled, you can move on to cleaning and preparing the body for painting. This is important to avoid getting paint in the interior. With some cars, this can be a delicate process, requiring some experience with the model you are working on.
Cleaning and Surface Preparation
Cleaning and preparing the surface is crucial for ensuring paint adhesion and a smooth finish. Begin by removing any old paint, rust, or imperfections. Use fine-grit sandpaper to gently sand the surface, creating a slightly rough texture for the primer to adhere to. Clean the car body with a degreaser or mild soap and water to remove any dirt, grease, or oils. Rinse thoroughly and allow it to dry completely. Thorough cleaning prevents contaminants from interfering with the paint application. Take your time to address any imperfections. This cleaning and sanding is a critical part of this process before priming your diecast car.
Priming Your Diecast Car
Priming is essential for creating a uniform surface for the paint to adhere to and enhancing its durability. Apply a thin, even coat of primer to the car body, ensuring that all surfaces are covered. Primer helps the paint stick to the metal and prevents rust. Use a primer specifically designed for metal surfaces. Allow the primer to dry completely according to the manufacturer’s instructions, and lightly sand the surface with fine-grit sandpaper if needed to smooth out any imperfections. This preparation will prepare your diecast car for painting and help to enhance the paint’s coverage. Proper priming will greatly improve the final appearance of your finished paint job.
Painting Your Diecast Car
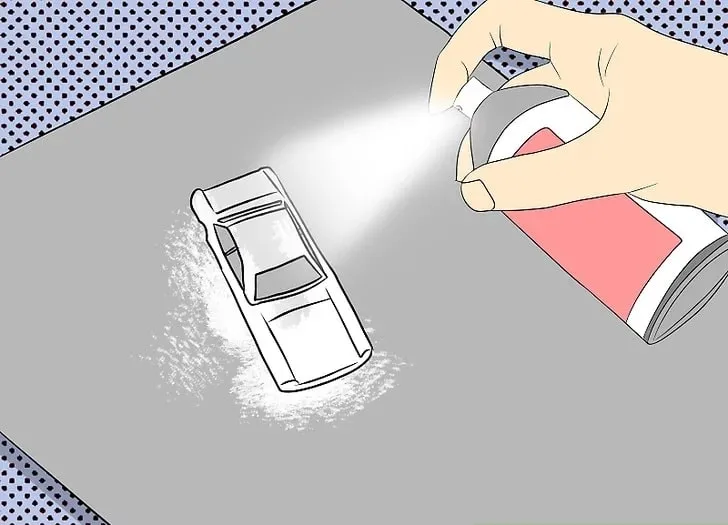
The actual painting process is where your creativity comes to life. Whether you’re using an airbrush or spray cans, the goal is to apply even, thin coats of paint. Several thin coats are better than one thick coat. This prevents runs and ensures a smooth finish. Allow each coat to dry completely before applying the next. Consider the environment, ensuring good ventilation and a clean workspace to prevent dust or other contaminants from affecting the paint. The following steps will guide you through the process of applying paint to your diecast car and help to achieve a professional-looking result.
Applying Base Coat
Apply the base coat to your primed diecast car, using even, thin coats. Use an airbrush for optimal control and a smooth finish. If using spray cans, hold the can at a consistent distance and move it back and forth. Allow each coat to dry completely before applying the next. Multiple thin coats are preferable to one thick coat. This minimizes the risk of runs and drips. The base coat provides the color and foundation for the final finish. Ensure the base coat completely covers the primer and achieves the desired color depth.
Applying Decals
After the base coat has completely dried, you can apply any decals or graphics to your diecast car. Carefully cut out the decals and apply them to the desired locations, using water or decal setting solution to help them adhere to the surface. Use a soft cloth or cotton swab to remove any air bubbles or excess water. Once the decals are in place, let them dry completely before moving on to the next step. Decals add detail and personalization to your model and help make it unique. Make sure the surface is free of dust and imperfections before applying any decals.
Applying Clear Coat
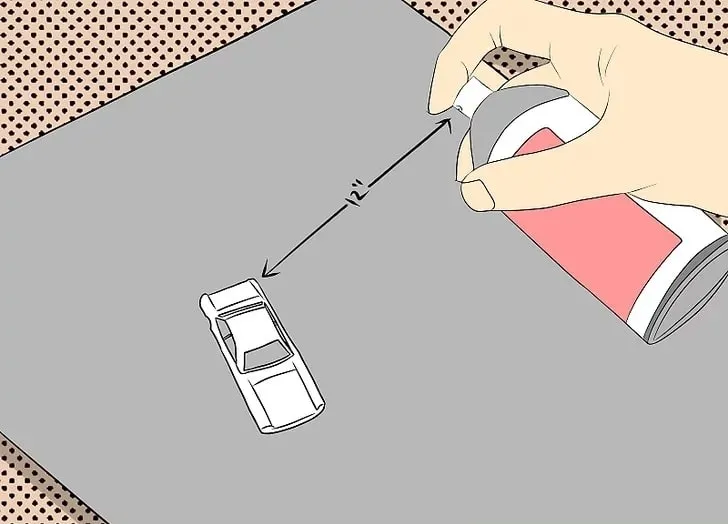
The clear coat protects the base coat and decals from scratches and UV damage. Apply several thin, even coats of clear coat, allowing each coat to dry before applying the next. Use a clear coat specifically designed for model cars. The clear coat provides a glossy finish and seals the paint, protecting the color. After applying the clear coat, allow it to cure completely. This curing time is critical to achieving a durable finish. It will also give your car a high-quality, professional appearance.
Finishing Touches
Once the paint has dried and cured, it’s time for the finishing touches. This involves reassembling the car, adding details, and polishing the surface. These steps bring your project to completion and ensure a professional look. The final steps enhance the appearance of your painted diecast car. Detailing and polishing are essential to bring out the best in your work.
Reassembly and Detailing
Carefully reassemble your diecast car, putting all the components back together. Use the photos you took during disassembly as a guide. Add any remaining details, such as window trim, lights, or interior parts. Use small brushes and detail paints to add these finishing touches. Inspect the car closely for any imperfections and correct them. This ensures the car looks perfect. Take your time to ensure that all parts are correctly aligned and secure. Adding detail enhances the realistic look of the model.
Polishing and Waxing
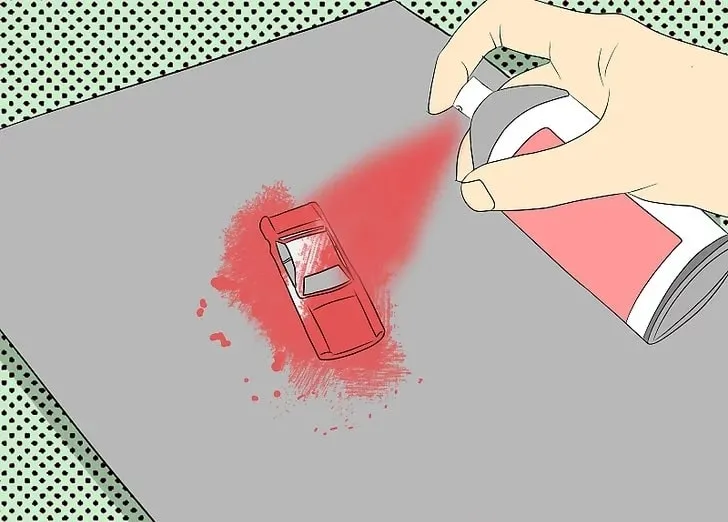
Polishing and waxing the car will give it a high-gloss finish and protect the paint. Use a polishing compound to remove any imperfections in the clear coat and bring out its shine. Apply a coat of wax to further protect the paint and enhance its luster. Use a soft cloth to apply the wax and buff the car. This polishing and waxing process adds the finishing touches, giving your diecast car a professional look. Proper polishing and waxing ensure your model car looks its best. This step is crucial for a showroom-quality finish.
