Creating your own NASCAR diecast model is a rewarding hobby that allows you to personalize your favorite race cars and display them with pride. This guide provides simple, step-by-step instructions to help you transform a basic diecast model into a custom masterpiece. With a bit of patience and the right materials, you can create stunning replicas of iconic NASCAR vehicles. Whether you’re a seasoned modeler or a complete beginner, this comprehensive guide will equip you with the knowledge and skills needed to get started. Get ready to dive into the exciting world of NASCAR diecast customization.
What You’ll Need to Make a NASCAR Diecast
Before you begin, gather the necessary materials to ensure a smooth and enjoyable crafting process. Having everything prepared will save you time and prevent interruptions during the project. Ensure you have all of the required equipment listed below. This will include several key components, from the diecast body itself to the paints, decals, and tools needed for the detailed work. Each item plays a crucial role in the final outcome, contributing to the model’s authenticity and visual appeal. Understanding these components before you begin the project is key.
Diecast Body
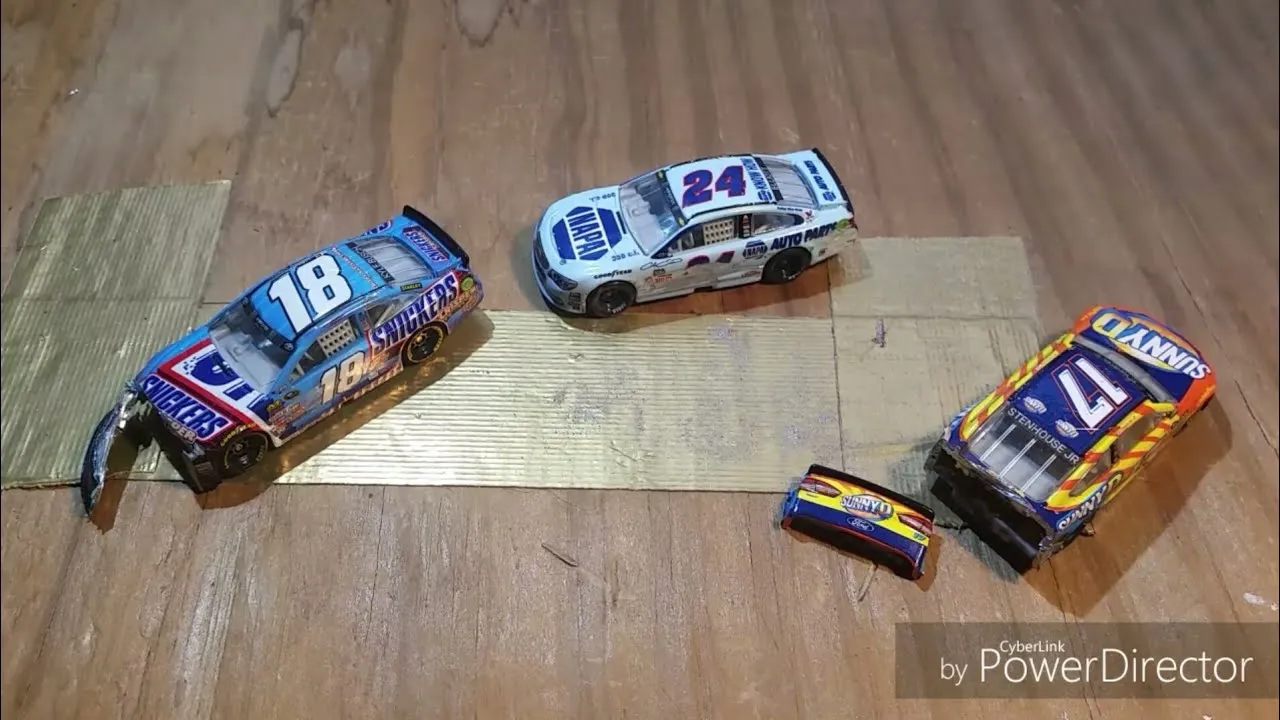
The foundation of your project is the diecast body. Choose a 1:64 or 1:24 scale NASCAR diecast model as your starting point. These are readily available online or at hobby stores. Select a model that closely resembles the car you want to replicate, or choose one that you want to do custom work on. Consider the existing details, such as the body shape, panel lines, and overall design. Make sure the diecast model is in good condition with no major defects or damage. These diecast bodies come in a variety of makes and models, and are the perfect platform to start your custom project.
Paint and Primer
High-quality paint and primer are essential for achieving a professional finish. Opt for hobby-grade acrylic paints, as they are easy to work with and offer a wide range of colors. Choose the correct paint color that is applicable to the NASCAR model that you chose. Select a primer specifically designed for plastic or metal surfaces to help the paint adhere properly. Make sure to have thinners on hand to allow the paint to apply smoothly. Proper priming and painting are critical for achieving a smooth, durable, and visually appealing finish on your diecast model. Make sure that all paint materials are also compatible with one another.
Decals
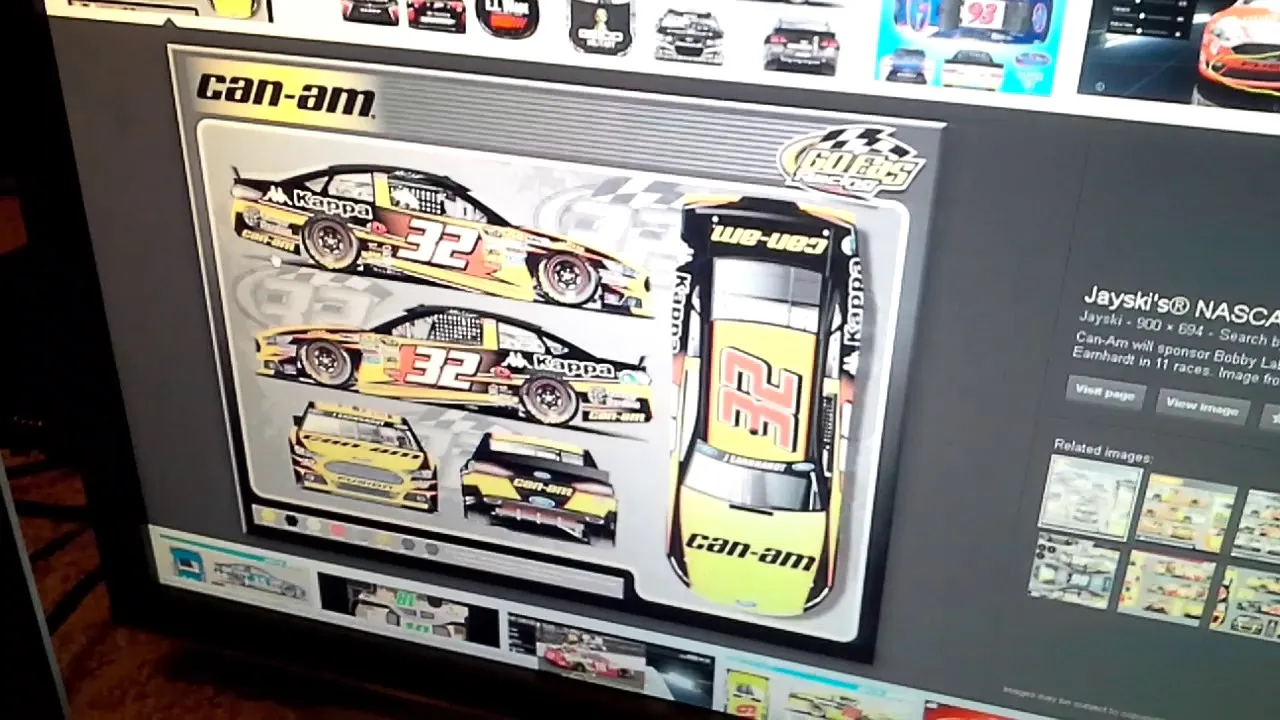
Decals are crucial for adding the intricate details and markings of the NASCAR car. You can purchase pre-made decal sheets featuring the specific logos, sponsors, and car numbers of your chosen vehicle. Alternatively, you can create custom decals using decal paper and a printer. Ensure your decals are of high quality, with crisp printing and accurate colors. These will make your diecast model come to life. Decals can be purchased from hobby stores, online, or directly from some diecast manufacturers. Careful selection of the correct decals is critical to the final look of your model.
Tools
A variety of tools are required for this hobby. These will include: a hobby knife or X-Acto knife for precision cutting; a set of small screwdrivers for disassembling and reassembling the diecast model; fine-grit sandpaper for smoothing surfaces; tweezers for handling small decals; a cutting mat to protect your work surface; and an airbrush and compressor for applying paint evenly (optional but recommended). Having a well-equipped workspace will greatly enhance the ease and quality of your work. Proper tools for disassembly, surface preparation, and application are key to a high-quality final product.
Preparing the Diecast Body
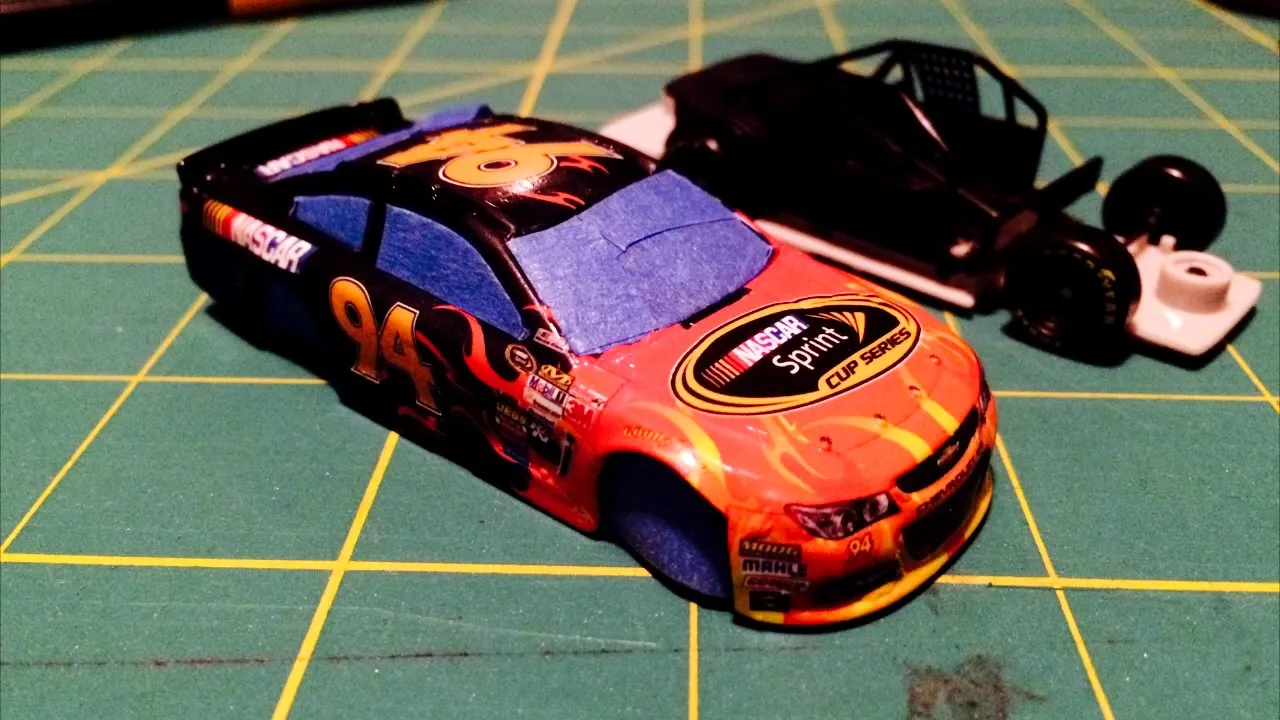
Proper preparation of the diecast body is a critical step in achieving a professional finish. This involves disassembling the model, cleaning the parts, and priming the surfaces. By taking the time to prepare your model, you ensure that the paint adheres correctly and that all the details are precisely applied. This meticulous approach will set your project apart. Every step plays a key role in the project’s success, from body preparation to paint application and the final assembly.
Disassembly
Carefully disassemble the diecast model to separate the body from the chassis, windows, interior, and other components. Use small screwdrivers or other appropriate tools to remove screws or clips. Take photos or make notes during the disassembly process to aid in reassembly later. Be sure to store all the parts safely to avoid losing any pieces. Carefully remove all the parts of the model, taking special caution to prevent damage. Proper disassembly is essential for preparing the body for painting and detailing.
Cleaning and Priming
Thoroughly clean the body with soap and water to remove any dirt, grease, or old paint. Use a soft brush or sponge to scrub the surface gently. Once the body is clean and dry, apply a thin, even coat of primer. This creates a smooth base for the paint and helps it adhere better to the metal surface. Allow the primer to dry completely according to the manufacturer’s instructions before proceeding. Take special care in this step, to achieve a high-quality final product.
Painting the Body
Painting is one of the most exciting and important steps in the process. Choose your colors carefully and ensure you have the correct equipment. Using an airbrush will give you the best result, but the painting can also be performed with spray cans. Proper application of the paint, including applying even coats, is essential. Avoid the temptation to apply too much paint at once. Remember that patience is key to achieving a professional result. Follow the right techniques and the project is guaranteed to be a success.
Base Coat
Apply the base coat of paint to the body. For best results, use an airbrush or spray can, holding it several inches away from the surface and moving it in smooth, even strokes. Apply several thin coats, allowing each coat to dry completely before applying the next. Avoid applying too much paint at once to prevent runs or drips. Let the paint dry and cure completely before moving to the next step. Always read the manufacturers instructions. Correct paint application is essential for the final look of your model.
Applying Decals
Decals bring your model to life, adding the intricate details that characterize NASCAR race cars. Careful application of the decals ensures that your model will be visually appealing. Decal placement is key, but the final result is worth the effort. Proper placement of the decals will give your model the professional look that it deserves.
Decal Placement
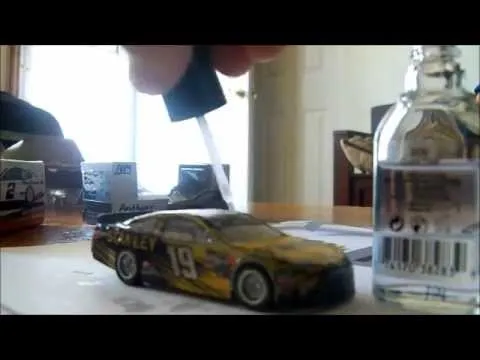
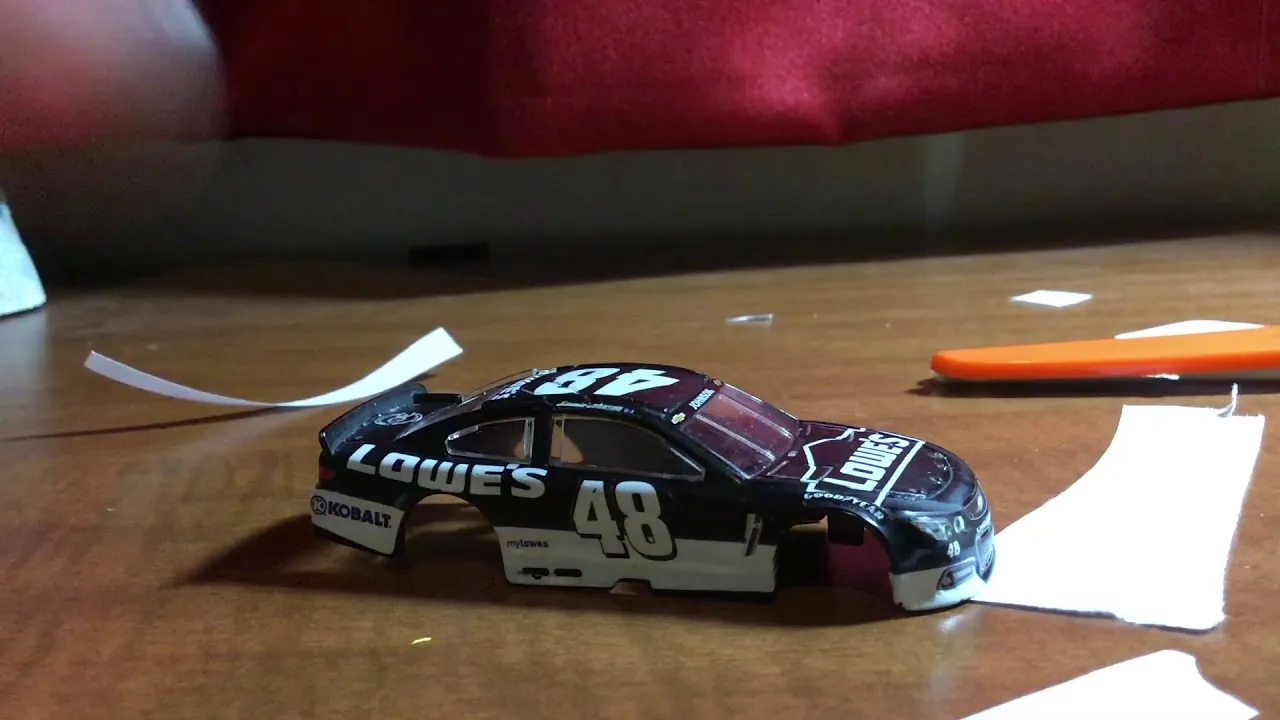
Carefully cut out each decal from the decal sheet, trimming as closely as possible to the printed design. Dip the decal in water for a few seconds to activate the adhesive. Slide the decal off the backing paper and onto the appropriate location on the body. Use tweezers and a soft cloth or cotton swab to position the decal accurately. Gently press the decal to remove any air bubbles and ensure it adheres to the surface. If necessary, use a decal setting solution to help the decals conform to the curves and contours of the body. Make sure the model is left to dry before continuing.
Clear Coating
After the decals have dried, apply a clear coat to seal and protect the paint and decals. This will give your model a glossy finish and add durability. Use an airbrush or spray can to apply several thin, even coats of clear coat, allowing each coat to dry completely. Be careful not to over apply the clear coat, which can lead to runs or a cloudy finish. Allow the clear coat to cure completely according to the manufacturer’s instructions. Make sure that the model is completely dry before you move on to the next step of the process.
Reassembly and Detailing
The final steps involve reassembling the model and adding any final details to complete your project. The finishing touches are key to achieving a professional look. Proper reassembly ensures that your model is structurally sound and visually appealing. These finishing touches will take your model from good to great. This phase is where the project truly takes shape.
Reassembly of Parts
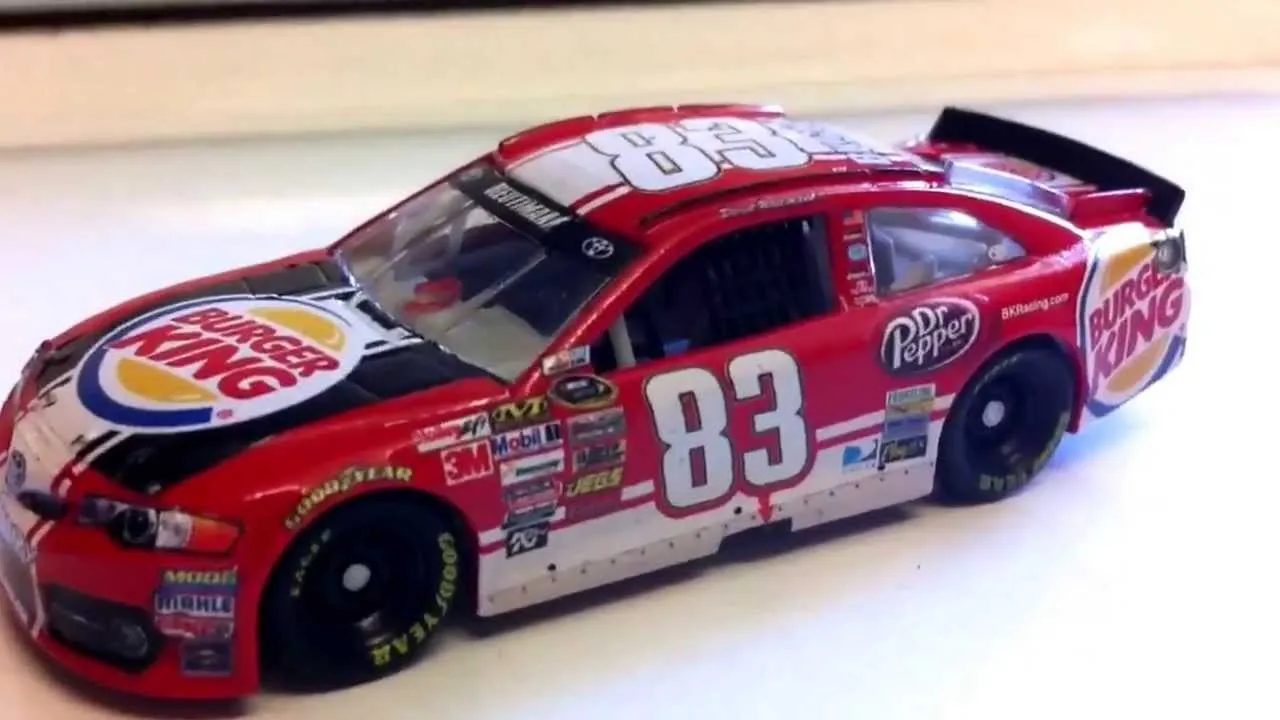
Carefully reassemble the diecast model, referring to the photos or notes you took during disassembly. Attach the chassis, windows, interior, and other components back to the body. Use screws or clips to secure the parts. Ensure all parts fit correctly and that the model is structurally sound. Double-check all parts to ensure nothing is missing or misaligned. Now your model is starting to take shape.
Detailing and Finishing Touches
Add any final details, such as applying washes to panel lines, adding small details to the interior, or weathering the body for a more realistic look. Use a hobby knife or paint to add any remaining details. Once you are satisfied with the overall look, your custom NASCAR diecast model is complete. Display your creation with pride or give it as a unique gift. These final touches will transform your model into a custom work of art.
Creating a custom NASCAR diecast model is a rewarding and fun project. By following these simple steps, you can transform a basic diecast into a unique piece of art. With patience, attention to detail, and the right materials, you can create stunning replicas of your favorite NASCAR vehicles. Enjoy the process and the satisfaction of building your own custom diecast models.
