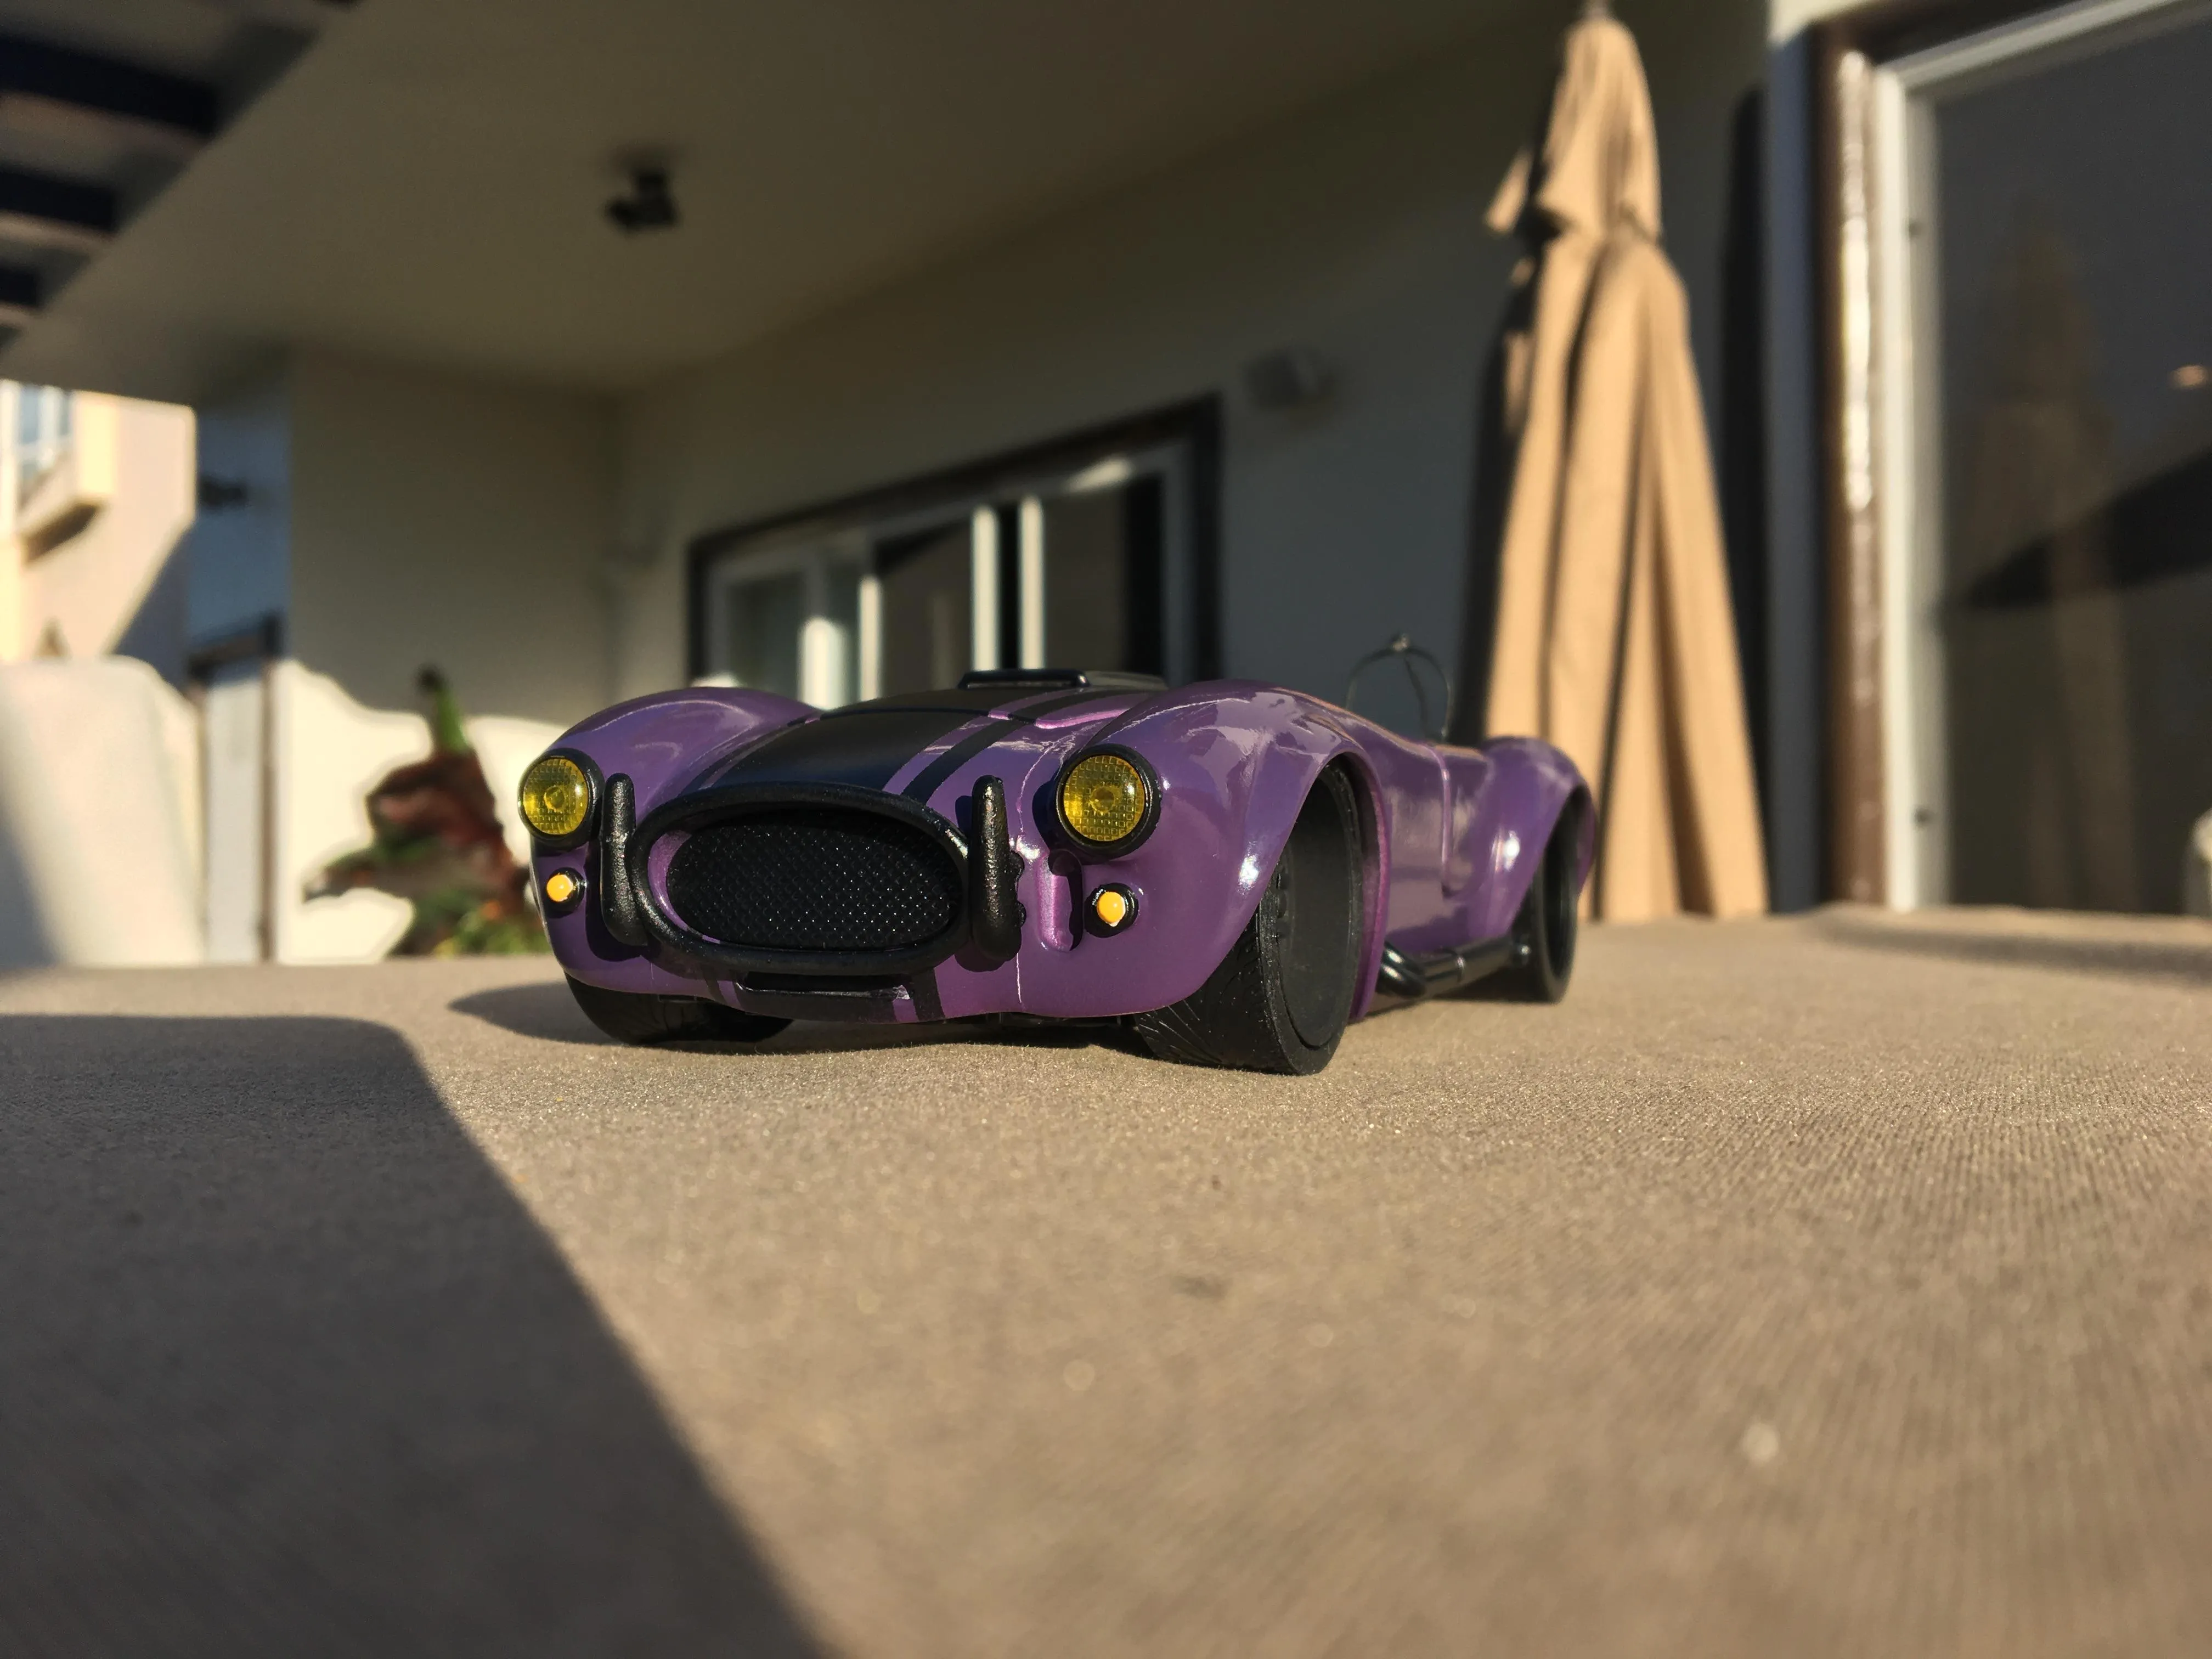
Diecast model restoration is a rewarding hobby that allows you to breathe new life into beloved miniature vehicles. Whether you’re a seasoned collector or a beginner, the process can seem daunting. However, with the right approach and a little patience, you can transform a rusty, worn-out diecast model into a stunning showpiece. Here are the top 5 tips to get you started on your diecast restoration journey, helping you achieve professional-looking results and enjoy the process.
Diecast Restoration Top 5 Tips
Assess the Damage
Before you even think about touching a wrench, a thorough assessment of the damage is critical. This initial evaluation guides your entire restoration process. Inspect the model carefully, noting all areas affected by rust, paint loss, or missing parts. The extent of the damage will determine the tools, materials, and time required for the restoration. Careful assessment ensures that you create a realistic restoration plan, avoiding surprises and ensuring a smoother project.
Identify the Model and Materials
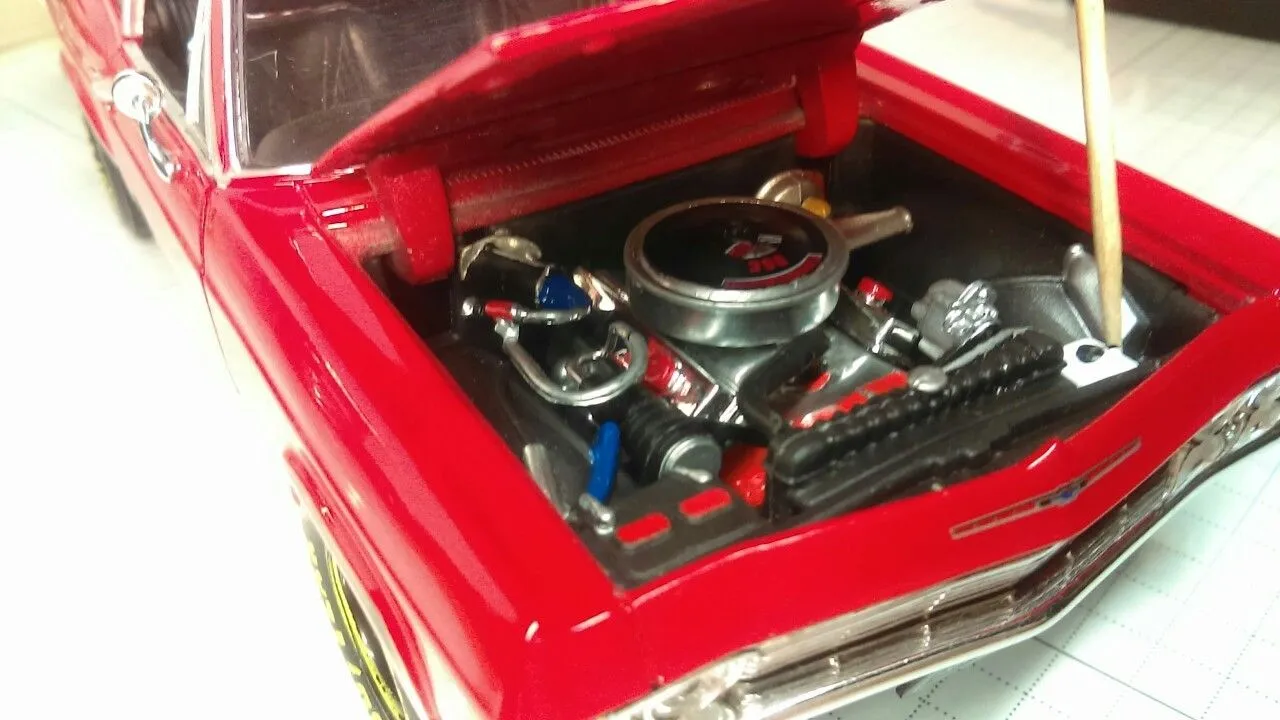
Knowing the specific make, model, and year of your diecast is essential. This information helps you find accurate replacement parts and determine the correct paint colors. Research the model’s original materials, as some plastics or alloys may require special handling during cleaning and restoration. Some diecast models are also extremely rare, and restoring these to their original state can greatly increase their value.
Evaluate Rust and Corrosion
Rust is the enemy of any metal diecast model. Carefully inspect the model for rust and corrosion, which can weaken the metal and damage the paint. Note the severity and location of the rust. Light surface rust can often be removed with gentle cleaning, while more severe rust may require chemical treatments or mechanical abrasion. This will help you to know what level of work is required to get your diecast looking new again.
Gather the Right Tools and Supplies
Having the right tools and supplies is essential for a successful diecast restoration. The following tools and supplies are useful to have at hand. Invest in quality tools and materials to avoid damaging your model. A well-equipped workspace will make the restoration process much easier and more enjoyable. Also, make sure you have a well-ventilated space for painting and working with chemicals.
- Small screwdrivers (various sizes and types)
- Needle-nose pliers and tweezers
- Soft brushes and cotton swabs
- Rust removal solutions (chemical or mechanical)
- Primer and paint (matching the original colors)
- Paint thinner and cleaner
- Sandpaper (various grits)
- Polishing compound
- Replacement parts (if needed)
Cleaning and Disassembly
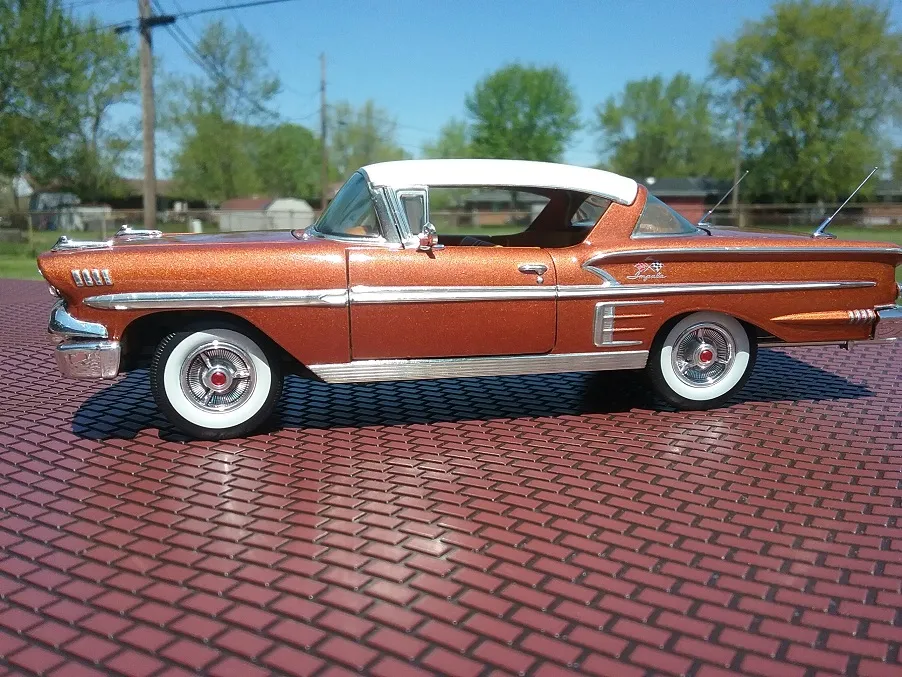
Before you start any restoration work, you need to clean and disassemble the model. This removes dirt, grime, and old paint, and gives you access to all the parts. Use appropriate cleaning techniques to avoid damaging the model, and always take photos during disassembly to help you put everything back together later. Be gentle, patient, and methodical throughout this process. This prepares the surface for rust removal and painting.
Gentle Cleaning Techniques
Start with gentle cleaning techniques. Use warm, soapy water and a soft brush to remove loose dirt and debris. Avoid harsh chemicals or abrasive cleaners that could damage the paint or the model’s surface. For stubborn grime, you can use a mild degreaser. Rinse thoroughly and dry the model completely before proceeding.
Safe Disassembly Methods
Carefully disassemble the model, taking photos at each step. Note how each part fits together, and store screws and small parts in labeled containers to prevent loss. Use the correct tools and avoid forcing parts apart, as this can damage them. If a screw is difficult to remove, try soaking it with penetrating oil first.
Rust Removal and Surface Preparation
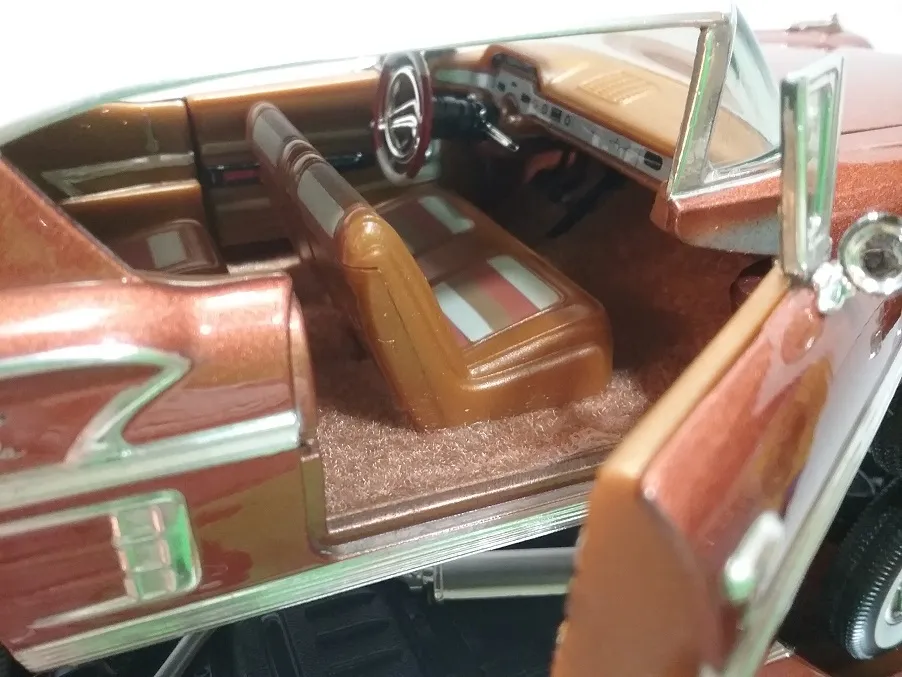
Rust removal is a crucial step in diecast model restoration. Choose the method that best suits the severity of the rust and the materials of your model. Always wear appropriate safety gear, such as gloves and eye protection, when working with rust removal chemicals or abrasive tools. Preparing the surface correctly ensures the new paint will adhere properly and provide a long-lasting finish.
Chemical Rust Removal
Chemical rust removers are effective for removing moderate rust. Follow the manufacturer’s instructions carefully. Submerge the rusty parts in the solution for the recommended time, then rinse thoroughly with water and dry. These chemicals often require ventilation so make sure you’re working in a well ventilated space. Protect other surfaces from the chemicals and dispose of the used solution properly.
Mechanical Rust Removal
For more severe rust, mechanical methods may be required. Use sandpaper, wire brushes, or a rotary tool with abrasive attachments. Start with coarser grits and work your way to finer grits to smooth the surface. Be careful not to remove too much metal or damage fine details. Always wear safety glasses to protect your eyes from flying debris.
Paint and Finish
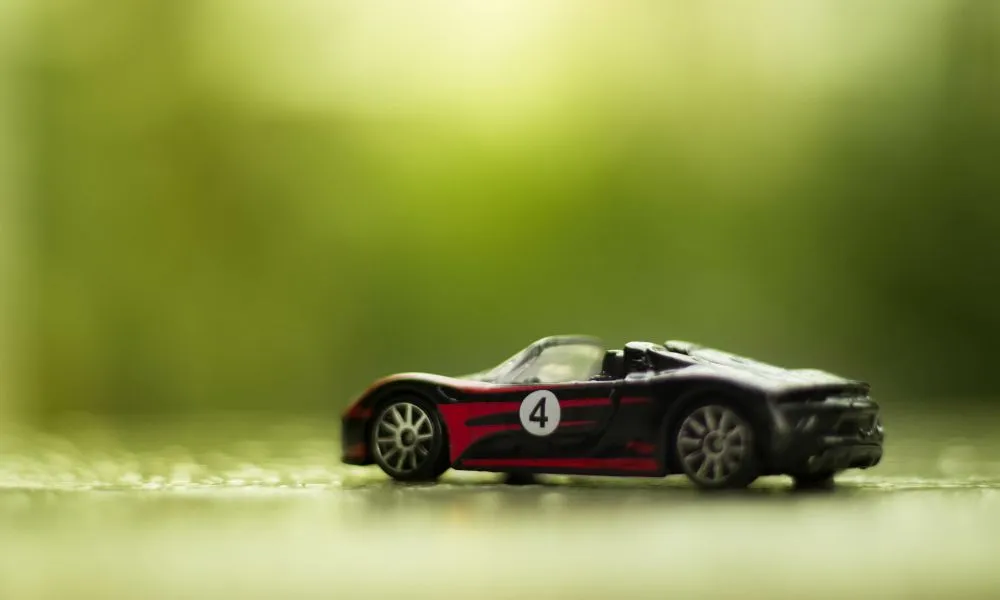
Choosing the right paint and applying it correctly is essential for achieving a professional-looking finish. Take the time to research the original paint colors and finishes used on your model. Proper surface preparation, paint application, and finishing techniques will result in a beautiful, durable finish.
Choosing the Right Paint
Use enamel or lacquer paints specifically designed for model cars. These paints are durable and available in a wide range of colors. Match the original colors as closely as possible. Consider using an airbrush for even paint application. Proper painting will transform the look of your diecast model.
Applying Paint in Thin Coats
Apply the paint in thin, even coats, allowing each coat to dry completely before applying the next. Multiple thin coats are better than one thick coat, which can lead to runs and imperfections. Use masking tape to protect areas you don’t want to paint. Good preparation and patient application ensure a smooth, professional-looking finish.
Reassembly and Detailing
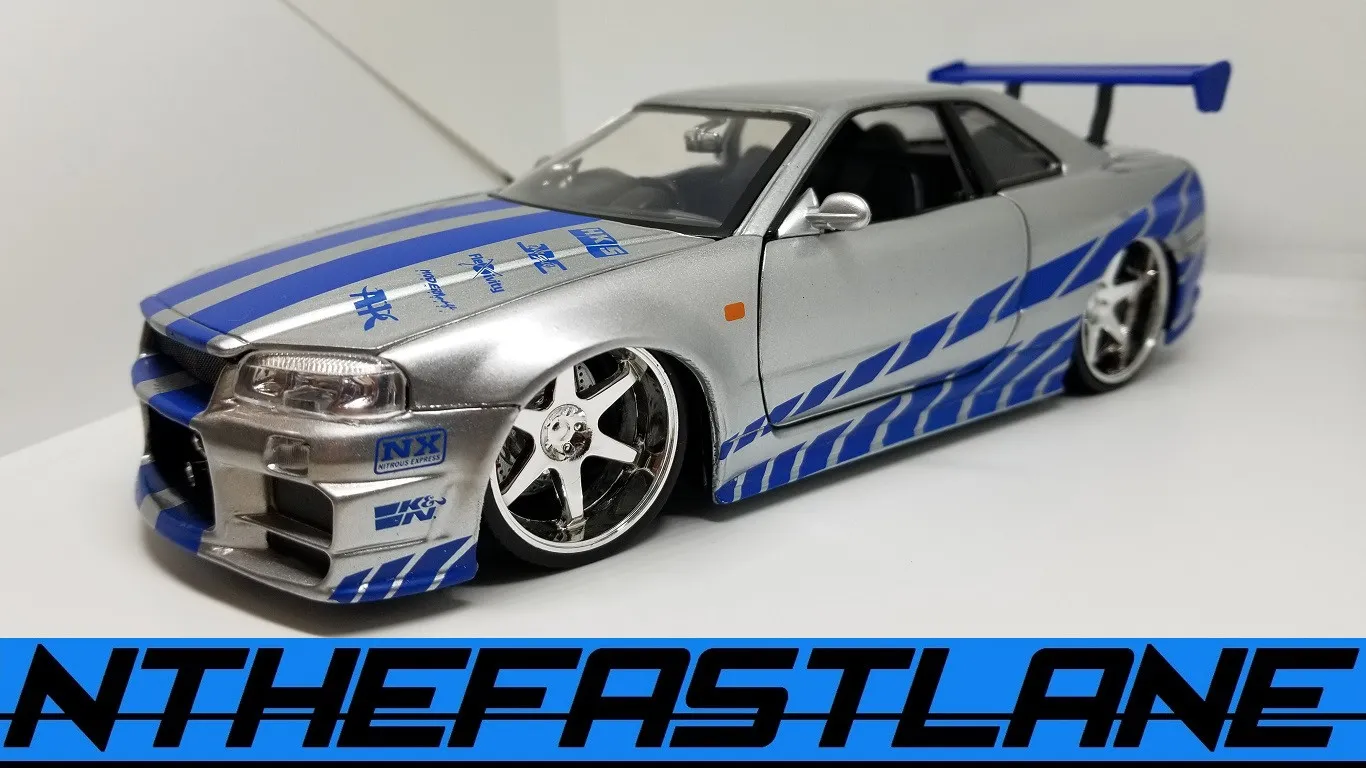
Once the paint has dried and cured completely, it’s time to reassemble your model. This is where all your careful planning and meticulous work comes together. Refer to your photos taken during disassembly to ensure everything goes back in the correct order. Adding details brings the model to life.
Reassembling the Model
Carefully reassemble the model, following your disassembly photos. Ensure that all parts fit together correctly. Tighten screws gently to avoid stripping the threads. Take your time and be patient, as rushing can lead to mistakes. Ensure all parts align correctly and function properly.
Adding Small Details
Adding small details, such as decals, trim, and interior parts, will bring your model to life. Use fine-tipped brushes and a steady hand for detailed painting. This can include features like door handles, window trim, and other small details. These small details enhance the overall look and authenticity of your restoration.
Restoring a diecast model is a rewarding experience. By following these top 5 tips and practicing patience, you can achieve stunning results and enjoy the satisfaction of bringing a miniature classic back to life. The process of diecast restoration might seem complicated but each step brings your diecast model closer to its former glory.
