What Are Diecast Kits
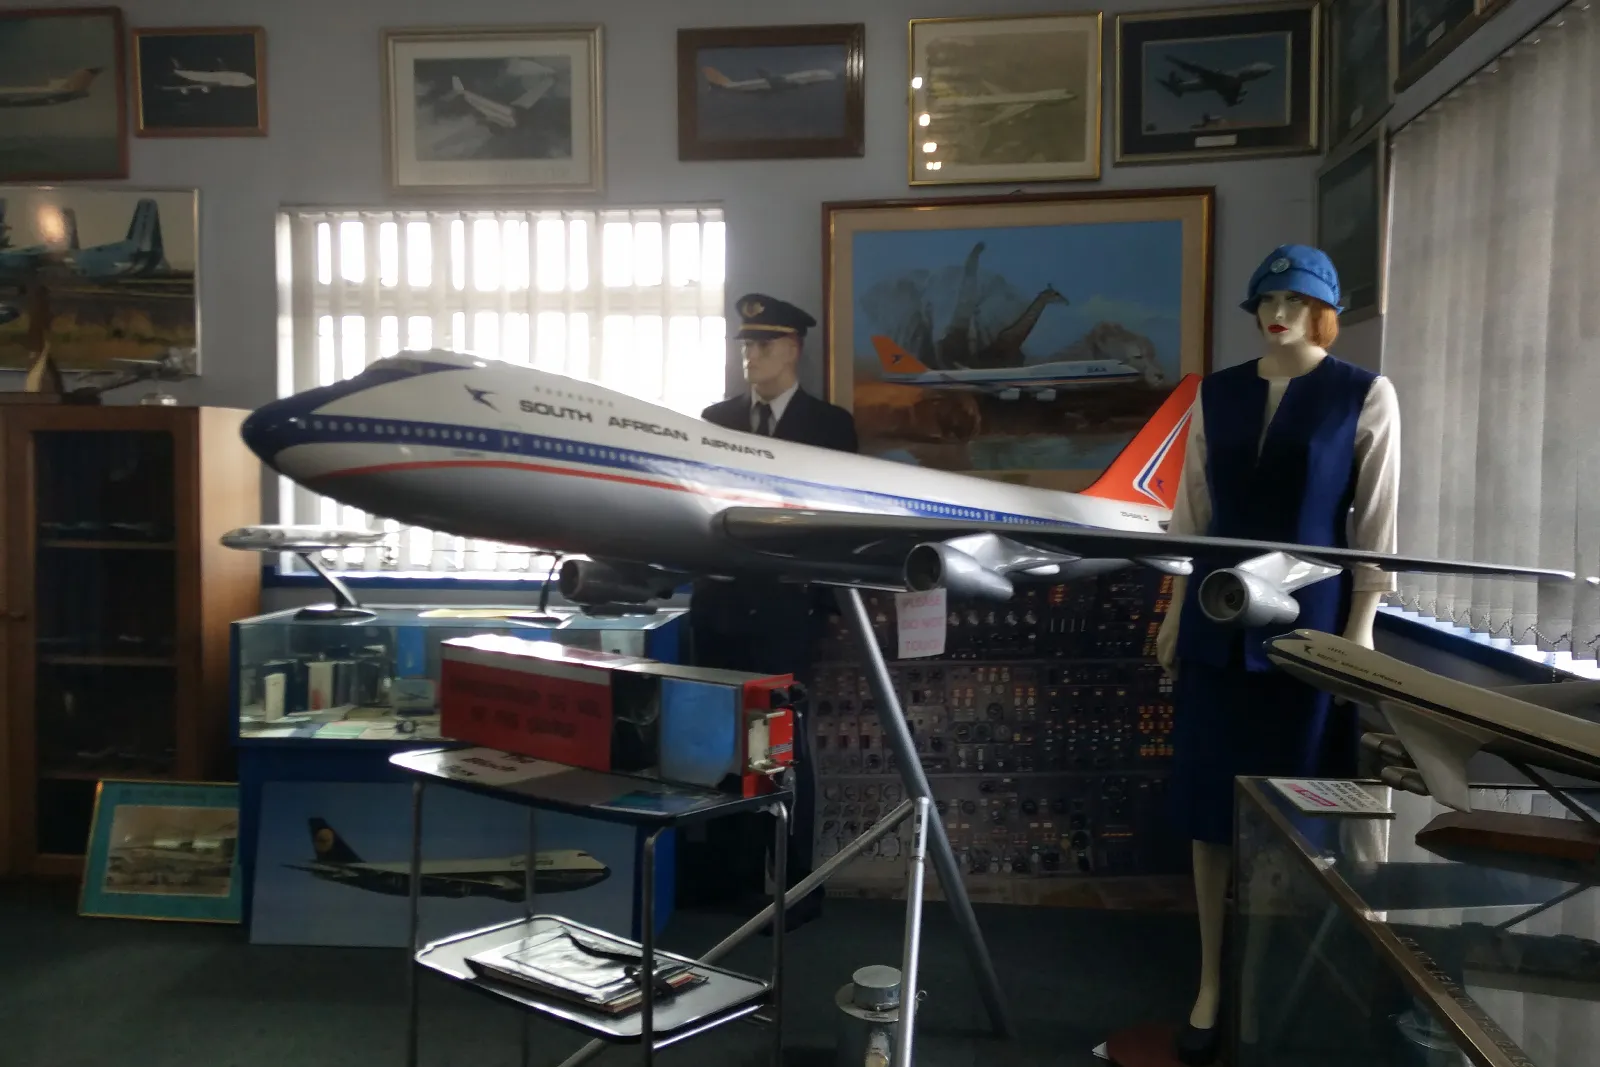
Diecast kits are miniature replicas of real-world vehicles, typically cars, trucks, motorcycles, and aircraft. These models are created using a process where molten metal, often zinc alloy, is injected into molds to form the main body parts. The ‘diecast’ term refers to this casting process. These kits offer a hands-on experience where enthusiasts assemble, paint, and detail their models, resulting in a personalized, high-quality collectible. The level of detail varies widely, with some kits designed for beginners and others catering to experienced modelers who seek intricate accuracy. Diecast kits provide a unique blend of craftsmanship, historical interest, and the joy of creating something tangible.
The Allure of Diecast Kits
The allure of diecast kits lies in their ability to capture the essence of real vehicles in miniature form. For many, the appeal is rooted in nostalgia, reliving memories of classic cars or aircraft. For others, it’s about the challenge and satisfaction of building something with your own hands. Diecast kits also offer a tangible connection to history, allowing modelers to explore different eras of automotive and aviation design. Furthermore, the sense of accomplishment from assembling, painting, and detailing a model is highly rewarding. The detail and accuracy of modern kits can also be astonishing, making them prized collectibles and conversation pieces, appealing to a wide range of enthusiasts from casual hobbyists to serious collectors.
Why Choose Diecast Kits over Other Hobbies
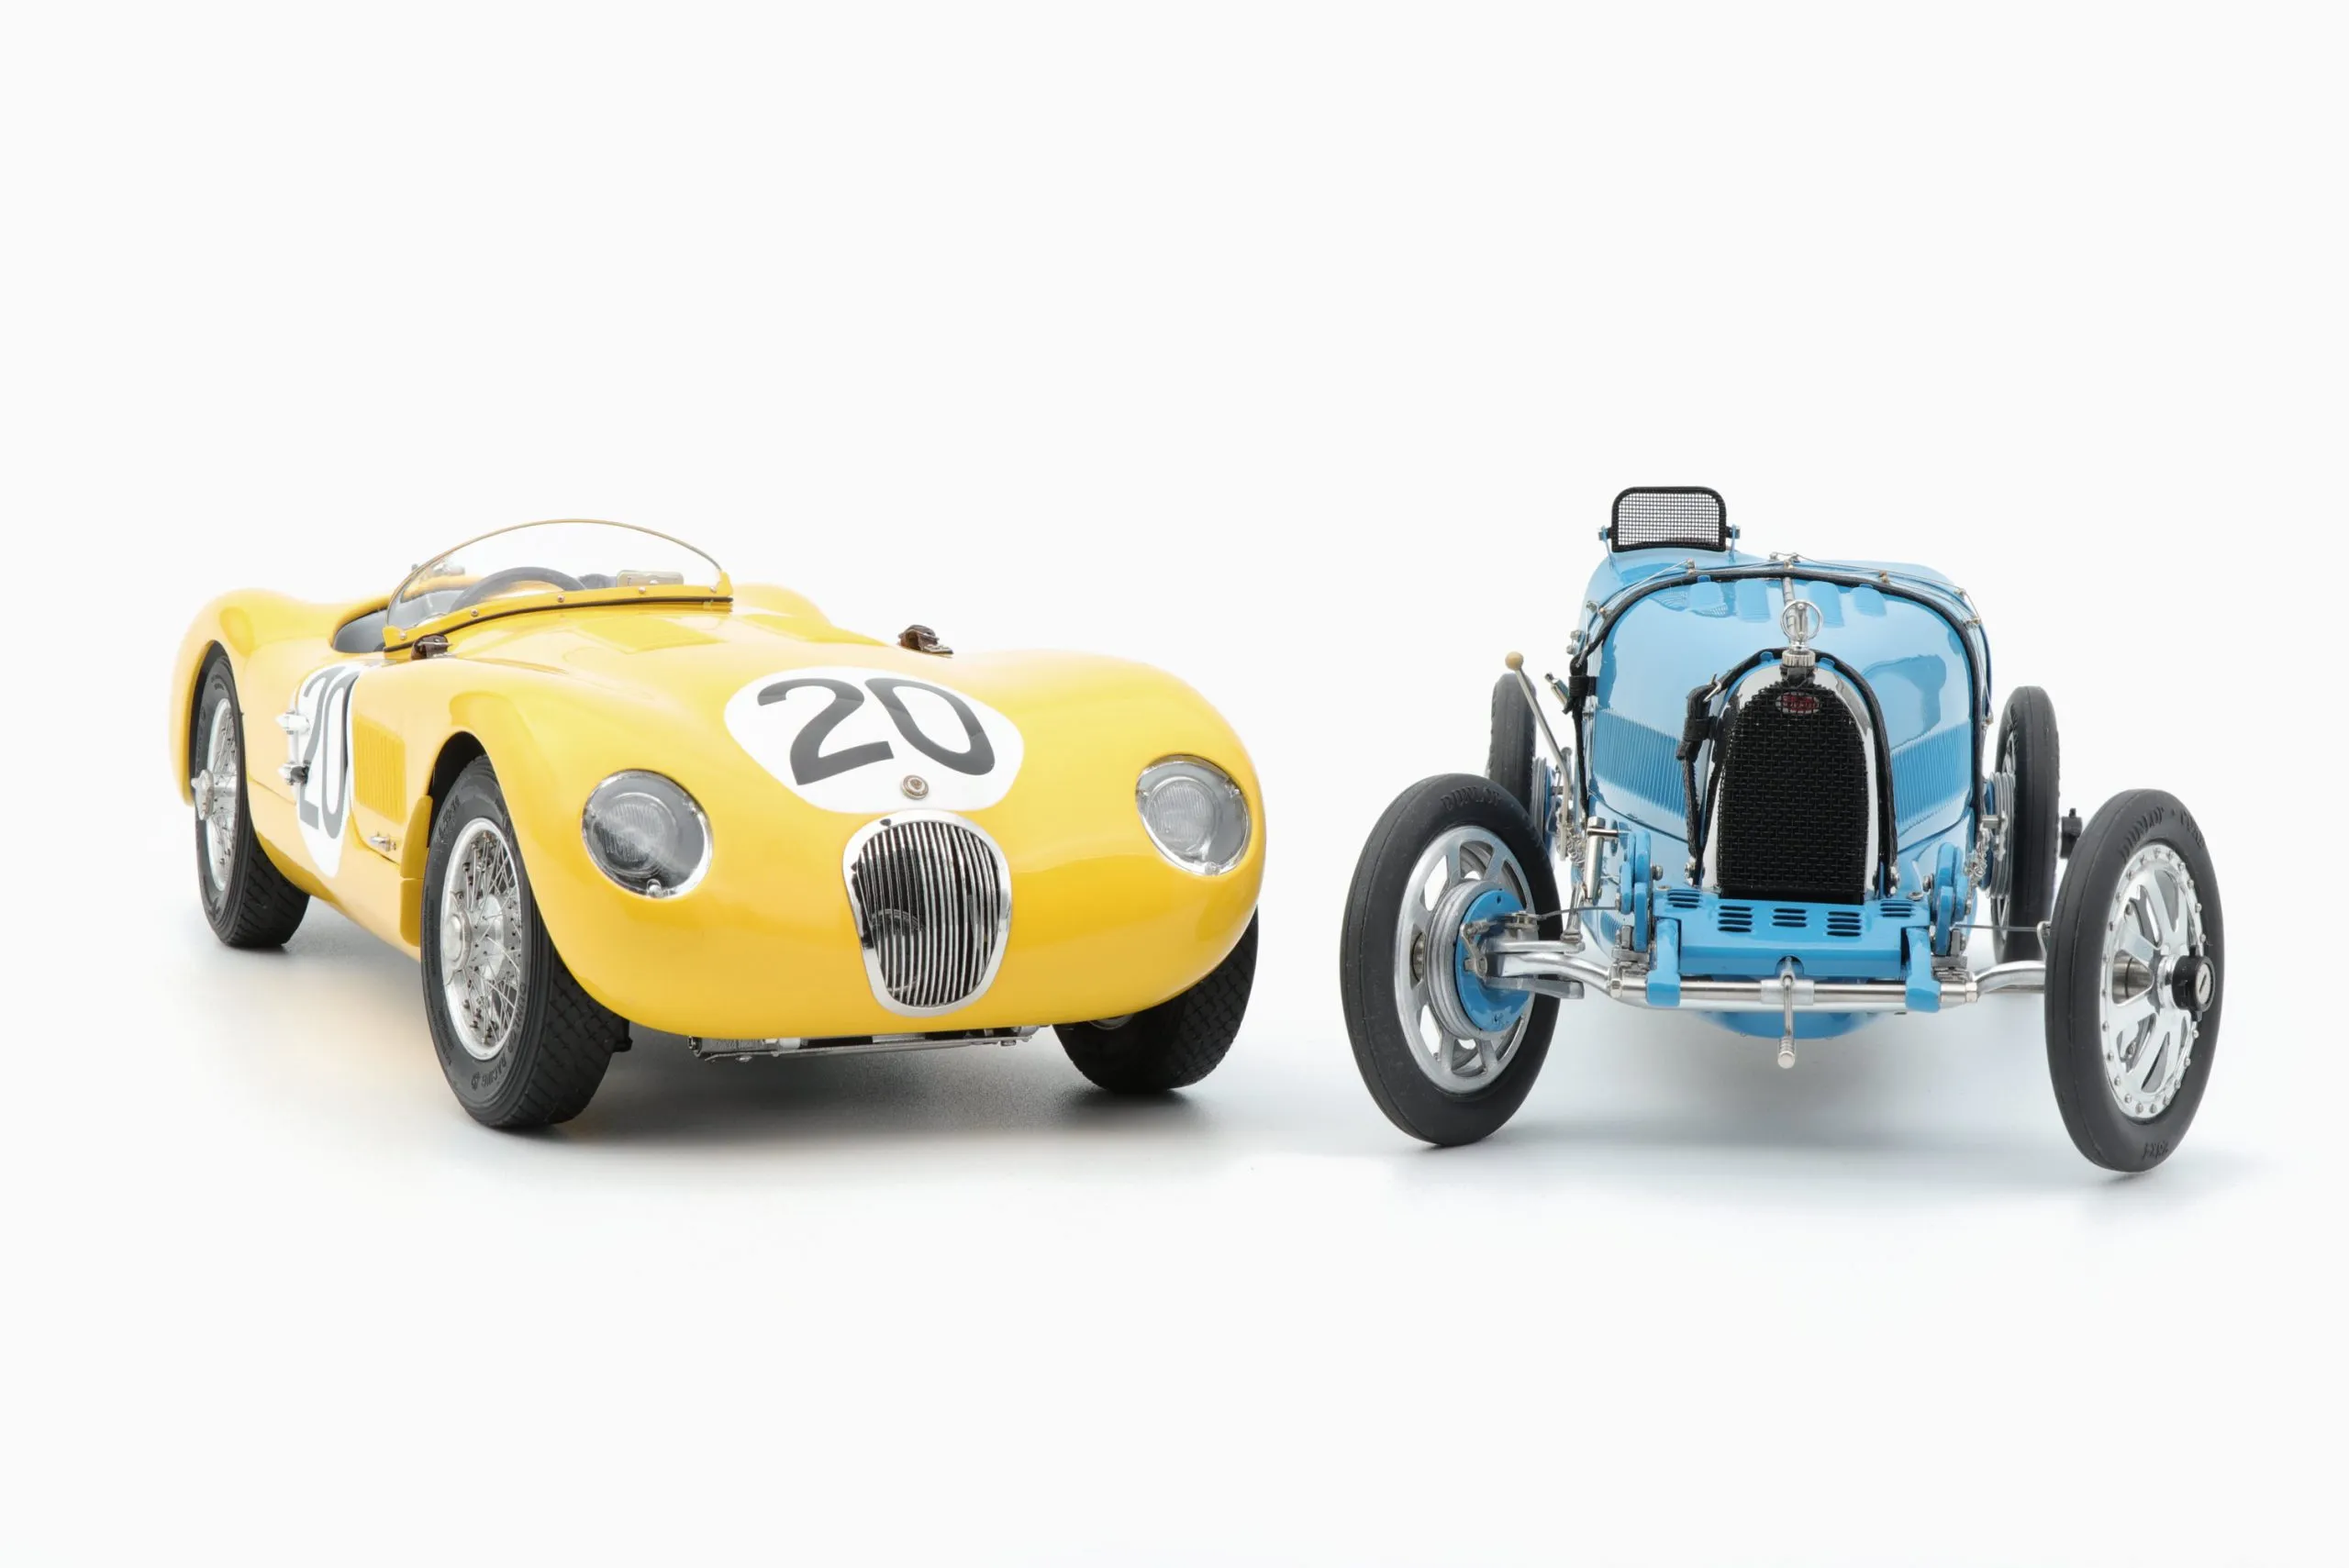
Compared to other hobbies, diecast kits offer several unique advantages. Unlike many digital or virtual pastimes, model building provides a tactile, hands-on experience that engages the senses and promotes mindfulness. The skills learned, such as patience, attention to detail, and problem-solving, are transferable to other areas of life. Diecast kits also occupy a space between casual crafting and highly specialized modeling, offering a satisfying level of complexity without requiring years of training. Additionally, the cost of entry can be relatively low, with beginner kits available at affordable prices. Finally, the collectible nature of finished models can provide long-term value and enjoyment, setting diecast kits apart as a rewarding and engaging hobby.
Essential Tools and Materials
Starting with diecast kits requires a basic set of tools and materials to ensure a successful build. Having the right equipment not only makes the process easier but also improves the quality of your finished model. These tools and materials facilitate precision work and enable achieving the best possible results. It is better to have quality equipment to ensure the pleasure of this interesting hobby. Gathering the right tools from the start contributes to a better modeling experience and creates a superior finished product, showcasing craftsmanship and attention to detail.
Basic Tools Every Beginner Needs
For beginners, a basic toolset is essential. This includes a hobby knife with sharp blades for removing parts from the sprues and trimming excess plastic. A set of small files and sanding sticks is crucial for smoothing surfaces and removing imperfections. Tweezers are helpful for handling small parts, while a set of side cutters or sprue cutters is needed for removing parts from the plastic frames. Additionally, a cutting mat protects your work surface, and a good quality glue designed for plastic models is a must-have. Some modelers find a magnifying glass helpful for intricate work, especially when dealing with very small components. These basic tools create a solid foundation for tackling diecast kit projects.
Adhesives and Paints Selection
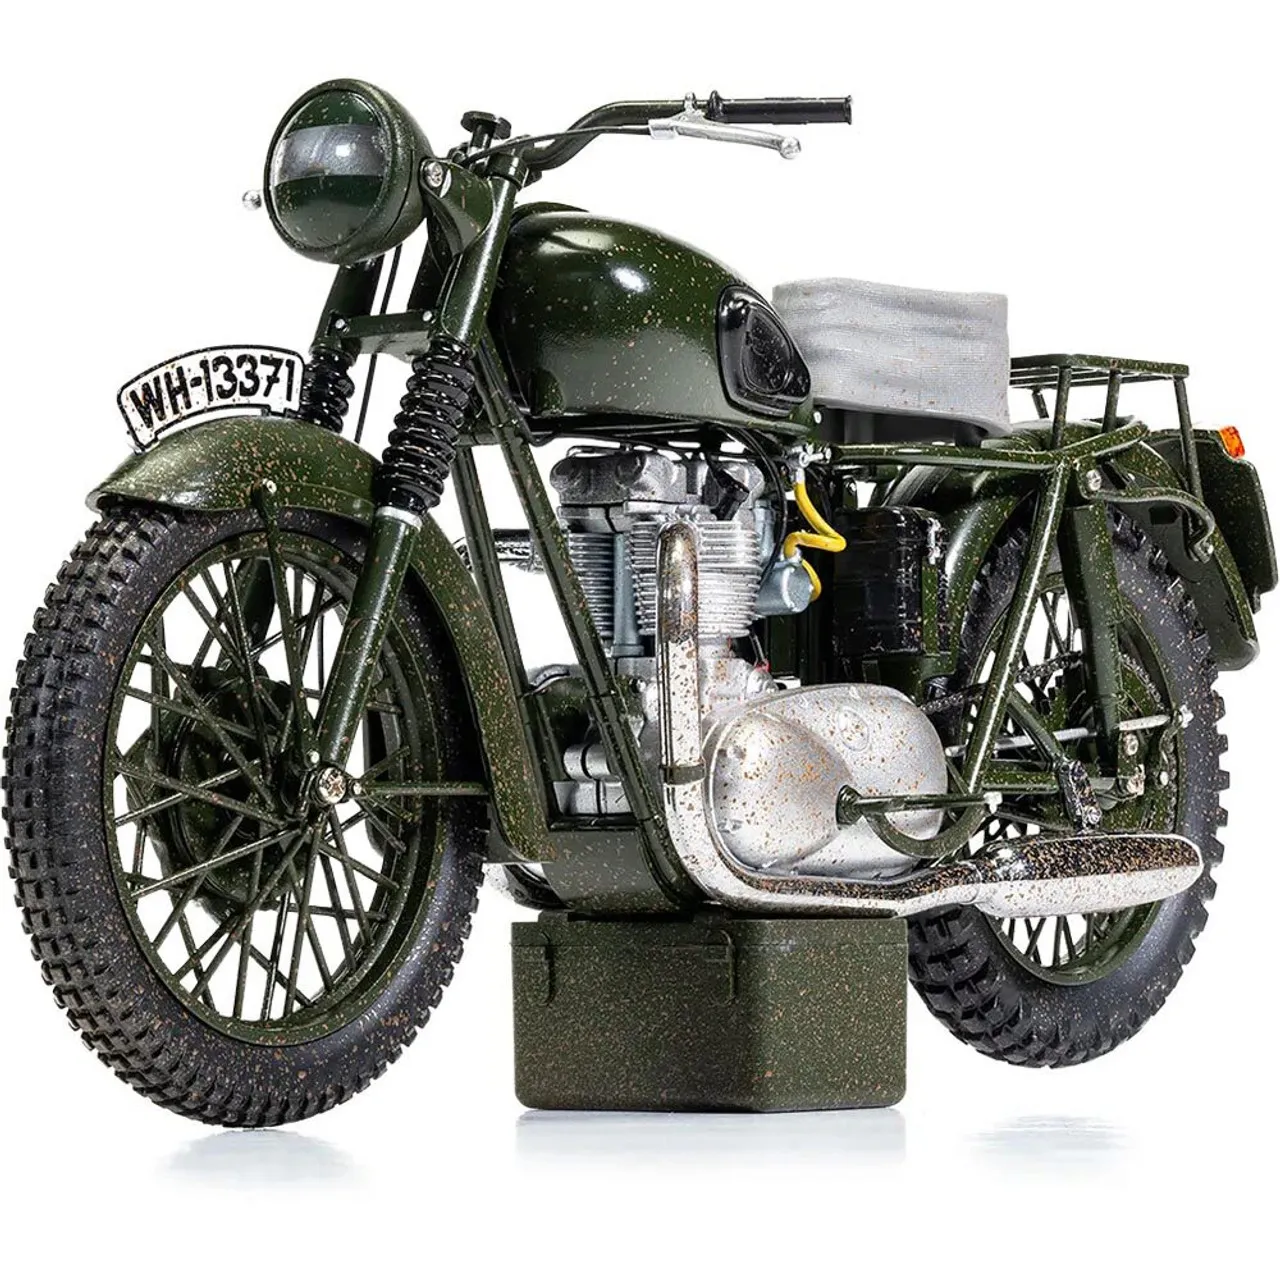
Selecting the right adhesives and paints is critical for a high-quality finish. For adhesives, use plastic cement designed specifically for model kits, as it melts the plastic slightly, creating a strong bond. Super glue, or cyanoacrylate glue, is useful for attaching non-plastic parts or for quick fixes. When it comes to paints, acrylic paints are a popular choice because they are water-based, easy to clean, and dry quickly. Enamel paints offer a durable finish but require thinner for cleaning and have a longer drying time. A good selection of paintbrushes, ranging from fine-tipped brushes for detail work to broader brushes for larger areas, is also essential. Consider a primer to improve paint adhesion and a clear coat to protect the finish. Always follow the manufacturer’s instructions on the adhesives and paints for the best results.
Preparing Your Workspace
Preparing your workspace is a crucial step often overlooked by beginners. Start with a well-lit area to minimize eye strain and enhance detail visibility. A sturdy table or desk is essential, and protecting the surface with a cutting mat is a must. Keep your tools organized using toolboxes, trays, or a pegboard. Ventilation is important, especially when working with paints and glues; consider a well-ventilated room or using a spray booth. It is wise to maintain a clean work environment, free from dust and debris. Finally, keep your materials within easy reach to streamline the building process, promoting efficiency, and making your modeling experience more enjoyable.
Step-by-Step Guide to Building a Diecast Kit
Building a diecast kit is a rewarding process that involves several key steps. Each step requires precision and patience to achieve the desired results. This process transforms individual components into a cohesive and attractive model. It’s about understanding the instructions, handling the parts carefully, and paying attention to detail to create an accurate representation of the original vehicle. Taking your time and enjoying the process is key to a successful and satisfying build. Follow these steps will allow you to enjoy a fulfilling experience and produce a stunning model.
Choosing Your First Kit

Choosing your first kit is an important decision. Start with a kit that suits your skill level, usually a beginner-friendly model with fewer parts and simpler instructions. Consider the scale of the model; larger scales (1:18, 1:24) are often easier to assemble than smaller scales (1:43, 1:72) due to the size of the parts. Research the manufacturer’s reputation for quality and accuracy. Read reviews from other modelers to get an idea of the kit’s buildability. Consider a kit of a vehicle you are passionate about, this passion will make the building process more enjoyable. Make sure that the kit comes with clear instructions and all necessary parts to avoid frustration.
Assembly Process Overview
The assembly process is the heart of building a diecast kit. Begin by carefully studying the instructions, identifying all the parts, and understanding the sequence of assembly. Remove parts from the sprues using a hobby knife or sprue cutters, and trim any excess plastic. Dry-fit the parts to ensure they fit together correctly before applying glue. Apply glue sparingly to avoid excess, which can mar the appearance of the model. Assemble sub-assemblies, such as the engine or interior, before attaching them to the main body. Be patient, take breaks when needed, and double-check your work frequently. Always allow adequate drying time for adhesives and paints between steps.
Painting and Detailing
Painting and detailing bring the model to life. Start by priming the model to create a smooth surface for the paint to adhere to. Apply thin, even coats of paint, allowing each coat to dry completely before applying the next. Use masking tape to protect areas that shouldn’t be painted, and consider using an airbrush for a smoother finish. Detailing involves adding small touches, such as decals, washes, and dry brushing, to enhance the model’s realism. Use a fine brush to paint details like lights, trim, and emblems. Experiment with different weathering techniques to add realism and character. Finally, apply a clear coat to protect the paint and decals, providing a polished finish.
Common Mistakes to Avoid
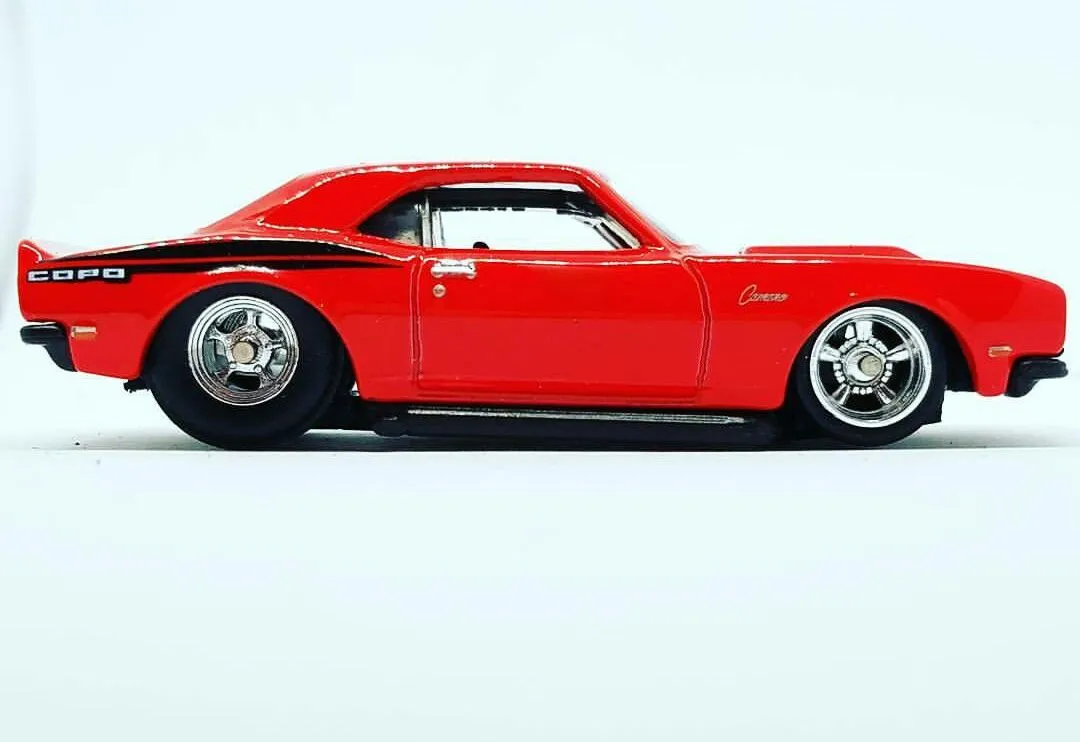
Avoiding common mistakes will make your building experience smoother and more enjoyable. Rushing the process is a frequent mistake; always take your time and don’t skip steps. Using too much glue can cause visible glue marks and damage the model. Applying paint in thick coats can result in runs and a less-than-professional finish. Forgetting to dry-fit parts before gluing can lead to misalignment and frustration. Failing to clean and prepare the model surface before painting can result in poor paint adhesion. Ignoring the instructions or skipping steps can result in incorrect assembly. By avoiding these pitfalls, you will produce a higher-quality finished model.
Where to Buy Diecast Kits
Finding the right place to purchase diecast kits is a critical part of the hobby. Numerous options exist, each with its own advantages. Deciding where to buy often depends on factors such as price, selection, and convenience. Careful research and comparison can lead to the best deals and most satisfying shopping experiences. Evaluating the options available helps ensure a positive start to your modeling journey.
Online Retailers and Specialty Shops
Online retailers offer a vast selection, competitive prices, and the convenience of shopping from home. Websites like Amazon, eBay, and dedicated model kit retailers provide access to a wide range of kits from various manufacturers. Specialty shops, both online and brick-and-mortar, often provide a more curated selection, expert advice, and a sense of community. These shops can be invaluable for finding rare kits and accessories. Consider visiting local hobby stores to support your community and view kits in person. Look for shops with knowledgeable staff who can offer advice and guidance, especially for beginners.
Comparing Prices and Quality
Comparing prices and quality is important when buying diecast kits. Prices can vary significantly between retailers, so compare prices from different sources. Be aware that the lowest price isn’t always the best value; consider the reputation of the seller, shipping costs, and return policies. Read reviews to assess the quality of the kits themselves; some manufacturers are known for their accuracy and detail. Look for kits with good reviews regarding fit, instructions, and overall build quality. Take note of the materials used; high-quality kits often use better plastics and more detailed parts. Balance price and quality to ensure that you get the best value for your money and the most satisfying modeling experience.
Displaying and Preserving Your Models
Once the model is complete, displaying and preserving it becomes an important consideration. The right display will protect the model while showcasing your craftsmanship. Careful handling and storage can protect the models from damage and extend their lifespan, preserving your work. It is important to create a display environment that is both visually appealing and protective, ensuring the longevity and enjoyment of your collection.
Showcasing Your Finished Kits
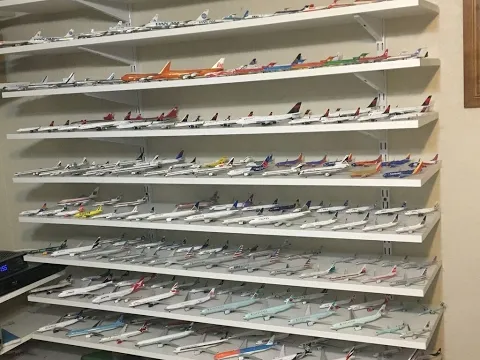
Showcasing your finished kits is part of the fun. Display cabinets or shelves are the most common and effective methods, protecting models from dust and damage. Consider using display cases with glass or acrylic panels to protect your models while allowing you to see them. Arrange your models in an organized manner, perhaps by type, scale, or manufacturer. Use appropriate lighting to highlight details and enhance their visual appeal. Consider adding a background to your display to create a more immersive scene. Sharing your models with others, such as at model shows or online, adds another dimension of enjoyment.
Protecting Your Collection from Damage
Protecting your collection requires careful planning and execution. Keep your models away from direct sunlight, which can fade paint and damage plastic parts. Dust is an enemy; regularly dust your models using a soft brush or compressed air. Store your models in a cool, dry place, away from extreme temperatures and humidity. Handle your models with care and avoid touching them with dirty hands. If you are moving your models, pack them securely with padding to prevent damage. Consider using archival-quality display cases to protect against UV light and dust.
Advanced Techniques and Further Learning
Once you’ve mastered the basics, you can explore advanced techniques to elevate your model-building skills. There are several techniques to elevate the appearance and quality of your models. Learning and refining these techniques is a continuous process, contributing to skill development and model enhancement. This will enable you to produce models that are more realistic and visually striking.
Upgrading and Customizing Your Models
Upgrading and customizing your models is a great way to add a personal touch. Consider aftermarket parts, such as photo-etched details, resin parts, or upgraded wheels, to enhance accuracy and detail. Experiment with weathering techniques to add realism, simulating rust, dirt, and other effects. Custom paint schemes, decals, and markings offer another way to personalize your models. Consider converting your model into a different version or creating a unique vehicle. Explore different techniques, such as scratch-building, to add custom details and modifications. Learning these techniques can substantially elevate your model-building capabilities.
Joining Diecast Model Communities
Joining diecast model communities provides a valuable resource for learning and inspiration. Online forums and social media groups are great resources for sharing your work, asking questions, and learning from other modelers. Attend model shows and competitions to see other modelers’ work and get feedback on your own. Consider joining a local model club to meet fellow enthusiasts and participate in group builds. Following experienced modelers on social media and watching tutorials online offers great learning opportunities. Participating in these communities allows you to get inspired and become a better modeler.
