Airbrushing diecast cars is a rewarding hobby that allows you to transform ordinary models into stunning, personalized pieces. Whether you’re a seasoned modeler or a complete beginner, mastering a few key techniques can significantly elevate your results. This guide will walk you through seven essential airbrush techniques for diecast cars, from initial preparation to advanced finishing touches. Each technique builds upon the previous one, providing a comprehensive approach to achieving professional-quality results. Get ready to unlock your creativity and bring your diecast car visions to life.
Prep Work: Airbrush Diecast Cars
Before you even touch your airbrush, proper preparation is crucial for a flawless finish. This involves careful cleaning, disassembly, and surface preparation. Taking the time to do this right will save you headaches later on and ensure that your paint adheres properly, resulting in a smooth, durable finish. Skipping this step will often lead to imperfections, so don’t rush this process.
Cleaning and Disassembly
Start by thoroughly cleaning the diecast car to remove any dirt, grease, or factory coatings. Use warm, soapy water and a soft brush. Rinse thoroughly and let it dry completely. Next, carefully disassemble the car, removing any parts that could interfere with the airbrushing process. This typically includes windows, wheels, lights, and interior components. Store these parts safely to avoid losing them.
Surface Preparation Sanding and Priming

Surface preparation is key for paint adhesion. Lightly sand the entire surface of the car with fine-grit sandpaper (around 600-800 grit) to create a slightly rough surface for the paint to grip. This also helps to remove any imperfections or blemishes. After sanding, clean the car again to remove any sanding dust. Apply a thin, even coat of primer designed for model car. Primer will help the paint adhere and provide a uniform surface for the topcoat. Let the primer dry completely, following the manufacturer’s instructions.
Technique 1: Base Coating
Base coating is the foundation of any good paint job. This is the initial layer of color that covers the entire car, and it sets the tone for the rest of your work. Achieving a smooth, even base coat is crucial for the overall appearance of your model. Proper airbrush settings and technique are critical for this step. This technique is simple but requires some practice to get perfect results.
Choosing the Right Paint and Airbrush Settings
Select high-quality model paint specifically designed for airbrushing. Acrylic lacquers or enamels are popular choices. Thin the paint to the manufacturer’s recommended ratio, usually with a specific thinner for the paint type. Adjust your airbrush settings according to the paint’s viscosity and the desired spray pattern. Start with a low air pressure (15-20 PSI) and gradually increase it as needed to achieve a fine, even spray. Test your settings on a piece of scrap material first.
Applying the Base Coat Tips and Tricks

Hold the airbrush 4-6 inches from the surface of the car and apply the paint in thin, even coats. Overlap each pass slightly to ensure complete coverage. Avoid spraying too much paint at once, as this can lead to runs and drips. Apply multiple thin coats, allowing each coat to dry completely before applying the next. This builds up the color gradually and helps to avoid imperfections. Maintain a consistent distance and angle throughout the process for a uniform finish.
Technique 2: Color Blending
Color blending is a technique used to create smooth transitions between different colors. This adds depth and visual interest to your model. Whether you’re creating a fade, a gradient, or transitioning between two distinct colors, mastering color blending will dramatically enhance the realism of your paint job. This technique requires some practice to master, but the results are worth the effort.
Creating Smooth Transitions and Gradations
To create a smooth transition, apply the first color, then spray a thin layer of the second color over the first, overlapping slightly. Use a lower air pressure and finer spray pattern for more control. The key is to apply very thin layers, gradually building up the second color while allowing it to blend with the first. The more you blend, the smoother the transition will be. This technique is also useful to create gradients, light to dark or vice versa.
Blending Techniques with Airbrush

For blending, use a lower air pressure and a slightly wider spray pattern. Practice on a piece of scrap material to get a feel for how the colors blend together. If you want to create a hard edge, use masking tape or a stencil to protect the areas you don’t want to paint. Be patient and take your time. Blending is about building up the color gradually, so don’t rush the process. Use a good quality paint, and thin it properly.
Technique 3: Adding Detail
Adding fine details is what truly brings a diecast car to life. This involves using stencils, masks, decals, and other techniques to replicate intricate features like logos, stripes, and other design elements. This step requires precision and a steady hand, but the results can be incredibly rewarding. Adding details transforms a good paint job into a truly exceptional model.
Using Stencils and Masks
Stencils and masks are essential for creating clean, crisp lines and patterns. You can purchase pre-made stencils or create your own using masking tape or specialized masking materials. Carefully apply the stencil or mask to the areas you want to protect, ensuring that it is firmly adhered to prevent paint from seeping underneath. Use a low air pressure and apply thin coats of paint to avoid buildup and ensure a sharp edge.
Adding Decals and Fine Details

Decals are a great way to add intricate details like logos, insignias, and racing stripes. Carefully cut out the decal and soak it in water until it releases from the backing paper. Position the decal on the model and gently dab it with a soft cloth to remove any air bubbles and excess water. Use decal setting solutions to help the decals conform to the surface and to provide a more durable finish. For finer details, use very small brushes or airbrush with a needle with precision.
Technique 4: Weathering Effects
Weathering is the process of adding realistic effects to simulate wear and tear, such as rust, dirt, and fading. This technique enhances the realism of your model, making it look like a real car that has been exposed to the elements. Weathering adds depth and character to your diecast car, giving it a unique and authentic look. This technique is best suited for models aiming for a realistic look.
Creating Realistic Rust, Dirt, and Wear
To create rust effects, use weathering powders or paints specifically designed for this purpose. Apply the rust color to areas where rust would naturally occur, such as around the edges of panels, along the lower body, and near exhaust pipes. Use a sponge, brush or a weathering wash to apply the rust and create a varied look. For dirt and grime, use washes or dry brushing techniques with dark brown or black paints. Apply the dirt to areas that would accumulate dirt, such as around the wheels, on the lower body, and in crevices. The result will give an aged or used look to your model.
Weathering Techniques

Dry brushing involves lightly loading a brush with paint and wiping most of it off on a paper towel. Then, lightly brush the paint onto the model to highlight details and create a weathered effect. Washes are thin, diluted paints that are applied to the model and allowed to settle into recesses and details, creating shadows and highlighting textures. Practice these techniques on a scrap piece to achieve the desired look before applying them to your final model.
Technique 5: Clear Coating and Polishing
Clear coating and polishing are the final steps in the airbrushing process. The clear coat protects the paint from damage, provides a smooth, glossy finish, and seals in the decals. Polishing enhances the shine and removes any imperfections in the clear coat. These steps are crucial for achieving a professional-looking finish.
Applying the Clear Coat for Protection
Choose a high-quality clear coat designed for model cars. Apply the clear coat in thin, even coats, allowing each coat to dry completely before applying the next. Multiple thin coats are better than one thick coat, which can lead to runs or orange peel. Follow the manufacturer’s instructions for drying time and application. It is always better to err on the side of caution and apply more coats than needed. Using a good clear coat will protect your model from scratches, and from exposure to the elements.
Polishing for a High-Gloss Finish

Once the clear coat is completely dry, you can polish the model to achieve a high-gloss finish. Start with a fine-grit polishing compound and work your way up to a coarser grit. Use a soft cloth or polishing pad to apply the compound, and polish in a circular motion. Take your time and be patient, as polishing can take several hours. After each grit, clean the surface thoroughly and inspect it for any remaining imperfections. The result will be a high gloss finish that brings out the best in your paint job.
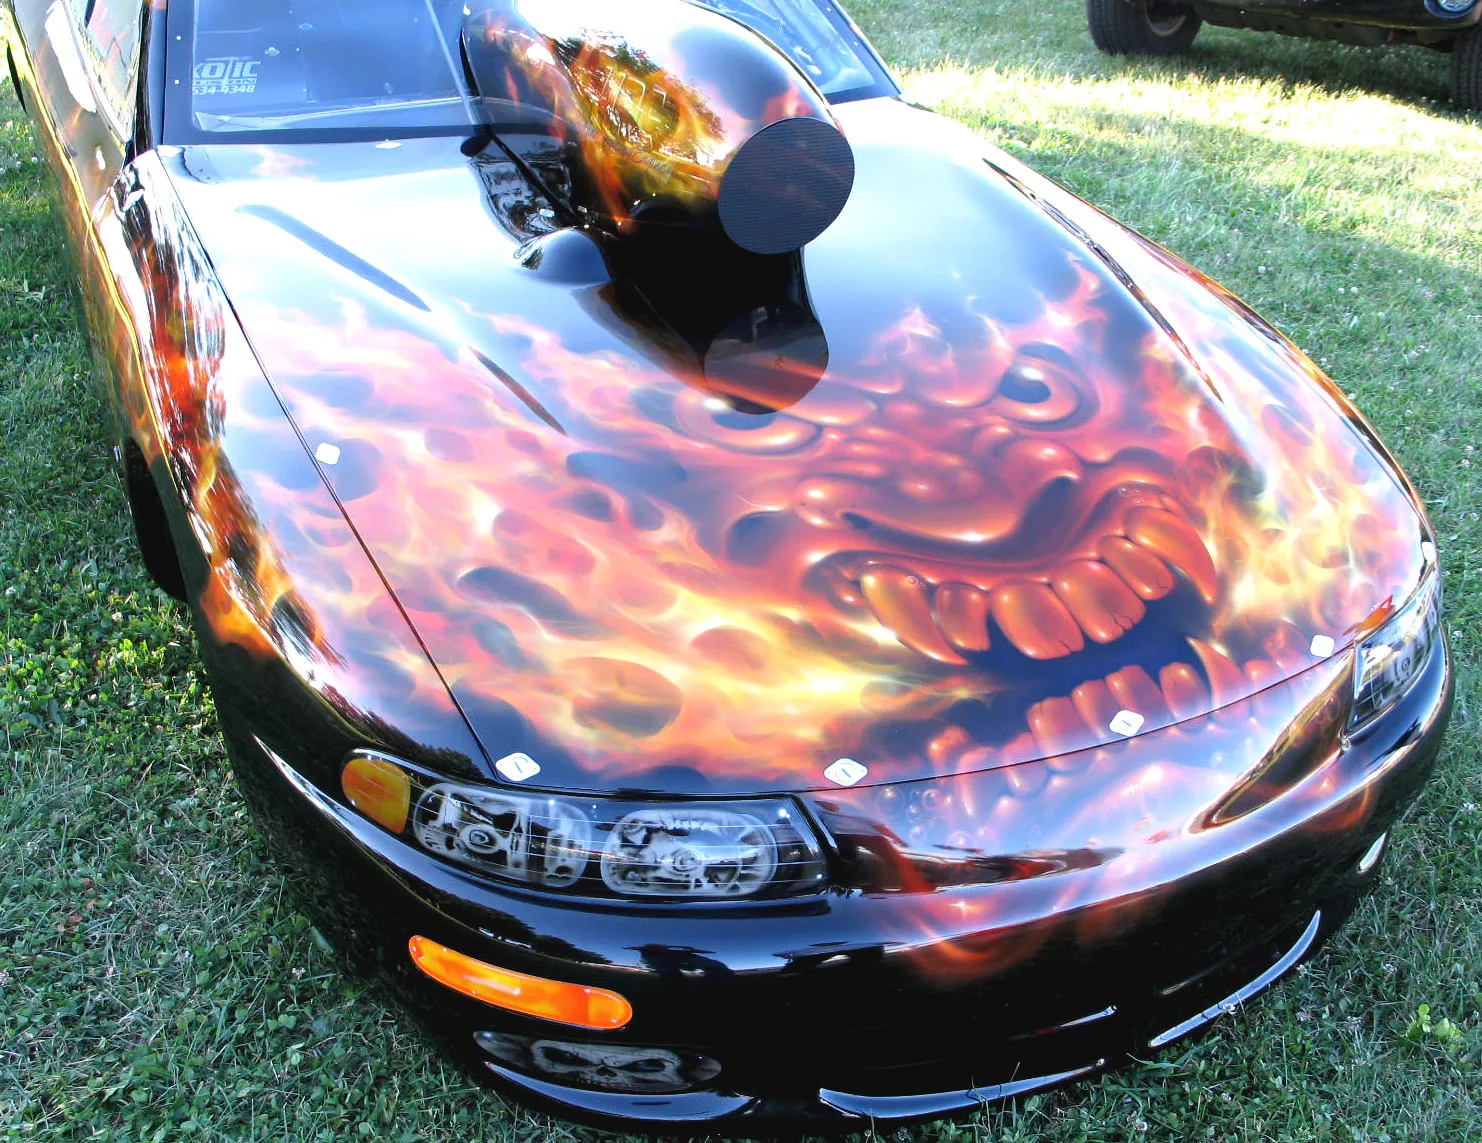
Technique 6: Custom Graphics
Custom graphics are a fantastic way to add a unique touch to your diecast cars, turning them into personalized masterpieces. This technique involves designing and applying custom artwork, logos, or patterns. Custom graphics can range from simple stripes and flames to intricate designs. With practice, you can create stunning custom paint jobs that showcase your creativity and skill.
Designing and Applying Custom Graphics
Begin by designing your custom graphics. You can sketch your design by hand, use computer software, or find inspiration from existing designs. Once you have a design, you can create stencils using masking tape, vinyl, or pre-cut templates. Carefully apply the stencils to the model, ensuring they are firmly adhered to prevent paint from seeping underneath. Precise planning is essential for flawless custom graphics.
Airbrushing Custom Graphics

Use a low air pressure and apply thin coats of paint to the areas exposed by the stencils. Overlap each pass slightly to ensure complete coverage and a uniform finish. If you are creating multi-color graphics, allow each color to dry completely before applying the next. Carefully remove the stencils after the paint has dried, and inspect your work for any imperfections. This can be a time-consuming process that requires precision and patience. Make sure to create your own personal touch when creating custom graphics.
Technique 7: Troubleshooting Common Problems
Even with careful preparation and execution, problems can sometimes arise during the airbrushing process. Knowing how to troubleshoot these common issues can save you time and frustration. This section will cover some of the most frequent problems, such as runs, clogs, and paint imperfections, and provide solutions to help you achieve a perfect finish.
Addressing Paint Runs, Clogs, and Other Issues
Paint runs occur when too much paint is applied at once. To fix this, let the paint dry completely and carefully sand down the run with fine-grit sandpaper. Reapply the paint in thin, even coats. Clogs can occur in the airbrush nozzle. To fix this, disassemble the airbrush and clean the nozzle thoroughly with airbrush cleaner or thinner. Inspect the nozzle for any damage or obstructions, and replace it if necessary. Other issues, such as orange peel or dust, can be addressed by adjusting air pressure, thinning the paint, or cleaning the work area. These common problems are fixed with the proper procedure.
Solving common problems
If you encounter any issues, research common airbrushing problems and their solutions. You can often find answers online or in model-building forums. Keep a notebook to record any issues you encounter, along with the solutions that worked. This will help you learn from your mistakes and improve your skills over time. With practice and patience, you can overcome any challenges and achieve professional-quality results. If your paint job is not the desired quality, do not be discouraged, just try again.
Airbrushing diecast cars is a rewarding hobby that allows you to create stunning, personalized models. By mastering these seven essential techniques – preparation, base coating, color blending, adding detail, weathering, clear coating, and troubleshooting – you’ll be well on your way to transforming your diecast cars into true works of art. Remember to practice, be patient, and most importantly, have fun. With each project, you’ll improve your skills and discover new ways to express your creativity. Enjoy the process of learning and creating, and celebrate your successes along the way. Happy airbrushing!